Changing Project Name in TFS 2012
November 21, 2012
Renaming a project in Team Foundation Server 2012. Seems like a sensible thing to do and not something that would take you very much time. Except for the fact that…
You can't do it! It can't be done. Simple as that.I tried that answer with my boss but he didn't seem happy. It's true though; Microsoft are very clear about it. That doesn't change the fact that we have a project with a confusing name and a very clear need to change that name. Nor does it change the fact that muggins got lumbered with the job of sorting this mess out.
After some googling and much swearing we finally managed to get it to work. The solution isn’t to rename the project but to create a new one and move all your work items over. Here’s how I did it. Note that this post only covers work items, not source control.
- Create a new team project with the correct name
- Make sure the work item templates match and all your customisations have been applied to the new project
- Use the TFS Integration Tool to migrate all your work items over
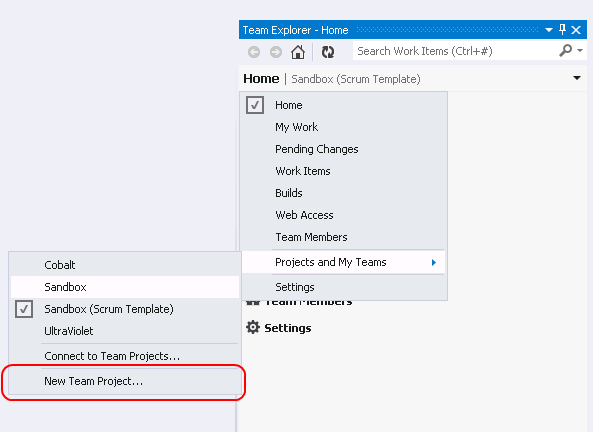
Creating a New Project
I always forget where to click, but the next image makes it clear. Make sure you set the name and choose the correct project template.
Moving Over Custom Work Item Types
If you haven’t customised the project template at all then you can skip this step. If you have made any changes you need to make sure you copy them to the new project before you migrate. If you don’t want to move your changes over there are clever things you can do with an XML mapping file but I’m not going to cover that today.
- Export work item types from your old project
- Tools → Process Editor → Work Item Types → Export WIT
- Choose the item type - make sure you export all the types you've changed. You'll have to do them one at a time.
- Save it to a file somewhere sensible
- Restart Visual Studio or it won't pick up the new project! This annoying but true. If you've not restarted VS since you added the new project, do it now.
- Import the work item types into the new project
- Tools → Process Editor → Work Item Types → Import WIT
- Select the file you saved
- Select the new project
- Do this for every file you saved
- Check that the work item templates now look as you'd expect them to
Migrating Work Items
Work items can be moved between projects using the TFS Integration Tools from Microsoft. You can download them here, though I’d suggest you search for the latest version, just in case! Install the tool on your TFS server and run it from the start menu.
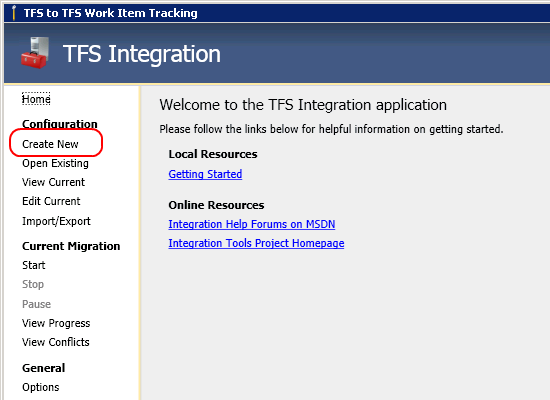
Run the tool and select “Create New” from the menu on the left.
Choose the template: C:\Program Files (x86)\Microsoft Team Foundation Server Integration Tools\Configurations\Team Foundation Server\WorkItemTracking.xml
In the configuration you need to select a project on the left and on the right. For a one way migration the left is the Source and the right is the Target. Make sure you give the migration a sensible name and choose “One Way Migration”. Click the “Configure” button on the left and select your old project. Click the “Configure” button on the right and select your new project.
Click “Save to Database” then click the “Start” button on the menu bar on the left.
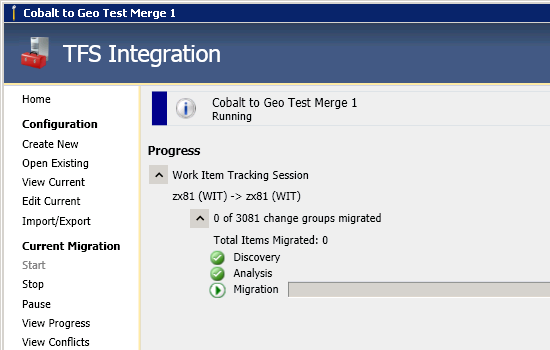
Off it goes…
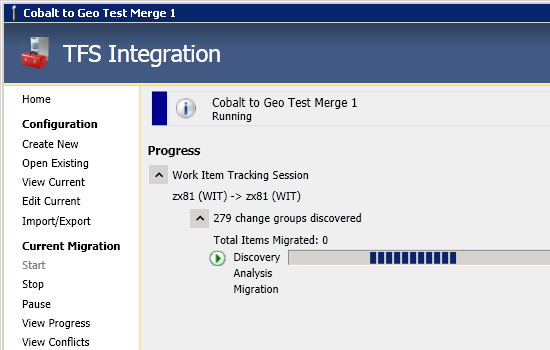 Looking good so far…
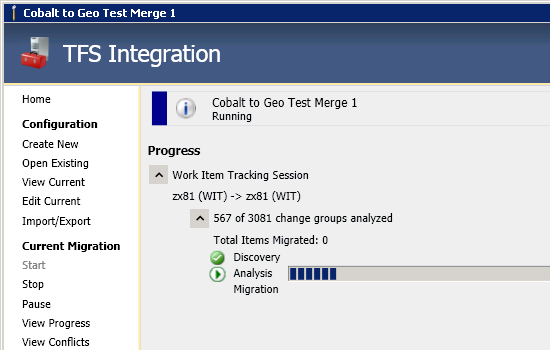 Almost there…
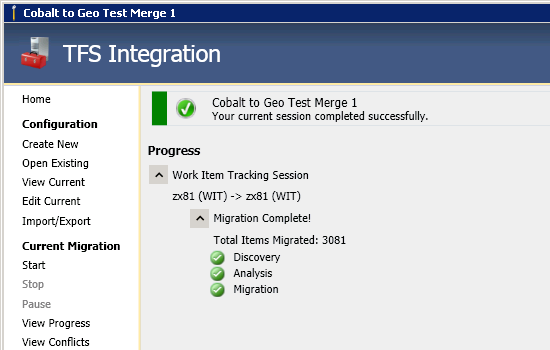
 Yes!
Yes!
Possible Issue With Permissions
When I first tried to run a migration I hit a permissions error. Three warnings popped up as soon as I started the migration, the full text of which is below:
[sourcecode]Microsoft.TeamFoundation.Migration.Tfs2010WitAdapter.PermissionException: TFS WIT bypass-rule submission is enabled. However, the migration service account ‘Administrator’ is not in the Service Accounts Group on server ‘http://zx81:8080/tfs/geo’. at Microsoft.TeamFoundation.Migration.Tfs2010WitAdapter.VersionSpecificUtils.CheckBypassRulePermission(TfsTeamProjectCollection tfs) at Microsoft.TeamFoundation.Migration.Tfs2010WitAdapter.TfsCore.CheckBypassRulePermission() at Microsoft.TeamFoundation.Migration.Tfs2010WitAdapter.TfsWITMigrationProvider.InitializeTfsClient() at Microsoft.TeamFoundation.Migration.Tfs2010WitAdapter.TfsWITMigrationProvider.InitializeClient() at Microsoft.TeamFoundation.Migration.Toolkit.MigrationEngine.Initialize(Int32 sessionRunId) [/sourcecode]
"…the migration service account ‘Administrator’ is not in the Service Accounts Group" being the important thing here. The annoying thing is that the group in question turns out to be hidden. Luckily, somebody has posted a solution. Basically you need to run the following command on your TFS server:
[sourcecode]c:\Program Files\Microsoft Team Foundation Server 11.0\Tools\tfssecurity /g+ “Team Foundation Service Accounts” n:YourMachine\YourUser ALLOW /server:http://yourserver:8080/tfs [/sourcecode]
What’s not copied?
The big thing for me is queries. I have 20+ custom queries that all relate to different parts of the process. All these will need to be moved over by hand as the tool doesn’t do it for you.
If you use the reporting services and so on you’ll find that they are not dealt with properly either.
Running it Again
If you have a period of handover between the two projects you might want to run them in parallel or have a rolling handover. The great thing about the migration you set up is that you can run it again and copy any changed made in the old project since your initial copy. This means you can get the new project set up, sort out all your documentation and stuff and have a structured migration plan for your team.
