Stuff I made in 2020
January 5, 2021
Well, 2020 was a funny old year! Sat here in January 2021, most people are talking about how things are going to improve this year. Sitting there in the future reading this, as you likely are, that’s probably a bit of an eyebrow-raiser. Regardless, 2020 was a year for staying at home, cancelling season tickets and holidays and spending the money on home improvement. It’s the year builders, plasterers and decorators became the highest paid people in the country - some seemingly building a backlog of jobs to keep them busy until retirement. If there hasn’t been a zombie apocalypse or third world war, future reader, you probably can’t imagine a time when Geoff the electrician didn’t drive round in a Bentley, chauffeured by Charles, former chief pilot for British Airways.
Anyway, the Taylor family take pride in slavishly following all the social trends, so 2020’s DIY objectives centred around redecoration of three rooms: The spare room (now known as “Dan’s Office” or “The Fortress of Solitude”), the living room and the former play room, soon to be Older Kid’s bedroom.
I think I surprised many in the household when, instead of heading off to Ikea via B&Q to grab some paint and a bunk-bed-in-a-box I donned a welding mask and disappeared into the garage… but you see, this year’s projects turned out to be a complex interdependent web of prerequisites and requirements that took several months to unravel. There was a hole in my bucket, and mending it was going to be far more complex than anyone could ever have expected.

You see, to sort out my desk I needed to weld up some new legs (not for me, for the desk), find somewhere to put paperwork and pens and stash all the messy wires. Welding up the legs meant cutting some steel box section at a 45° angle; making those cuts meant fixing the band saw, on which the motor had burned out. Stashing the wires meant bending some metal, which meant making a metal brake, which meant making some hinges on the lathe, which meant sorting out the lathe table. Stashing paper and pens meant building some boxes and drawers, which meant I needed to learn more joinery and make a box joint jig for the router table I made last year. None of these things could happen until I tidied the garage and sorted out the half metric ton of scrap wood I had knocking about and obviously wasting wood is a sin, so I had to use it to make some planters for the garden…
Similarly with the living room: we wanted some custom-sized cupboards under a large TV shelf, and given that I could neither afford nor schedule a carpenter to do this, I had to learn how to make shaker style doors, which meant modifying the table saw to cut rebates and then building several practice doors to get my technique down. It seemed pretty essential to make a tool tote to carry all the screws, rawl plugs and whatnot I seemed to constantly need around the house and, obviously, having made all those practice doors, I needed some practice handles (which helped practice the welding for the home-made brackets under the shelves that have sprung up all round the house).
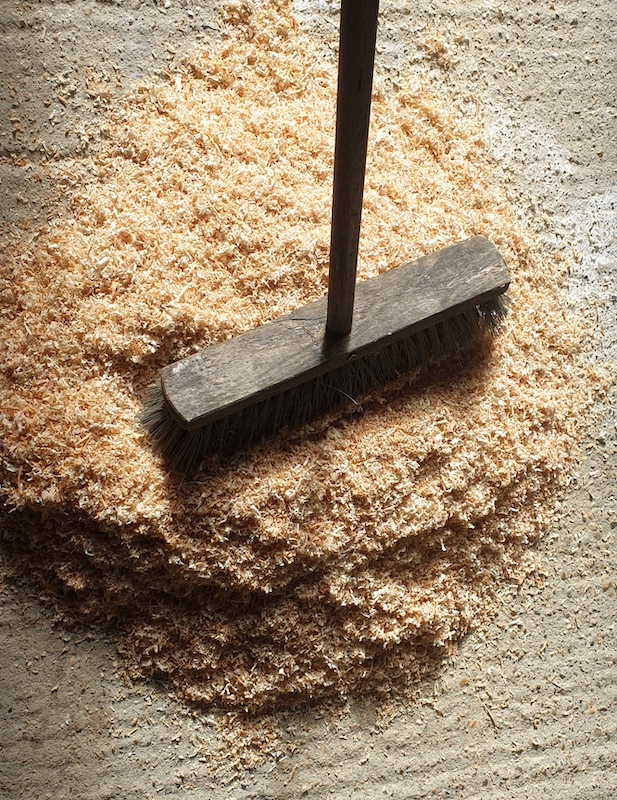
So, as you can see, it’s been complicated! Short of planting some trees and setting up a foundry in the shed, everything’s gone back to first principals in 2020. Throughout all this, my constant companion this year has been sawdust. Lots and lots of sawdust.
So that’s about it. I’ve achieved either three things or about a hundred things in 2020, depending on how you look at it. Needless to say, as I sit in the fortress of solitude blogging about it, the garage is woefully messy, two more rooms have been added to the list for this year and with the very real prospect of me being back in the office in as little as six months time, the clock is ticking for 2021!
Below are some details of some of the projects I remembered to take photos of as I went along. Help yourself if you’re interested!
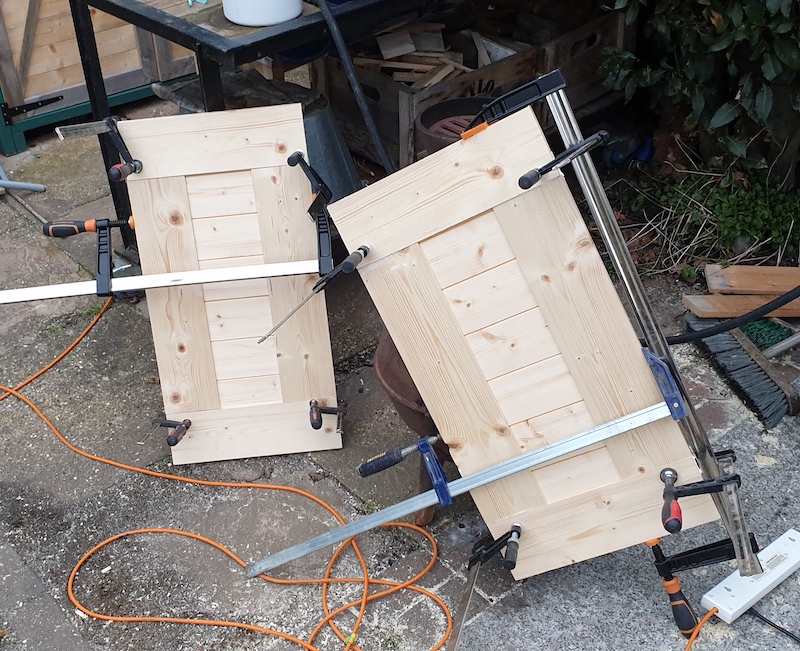
“The Coffin”
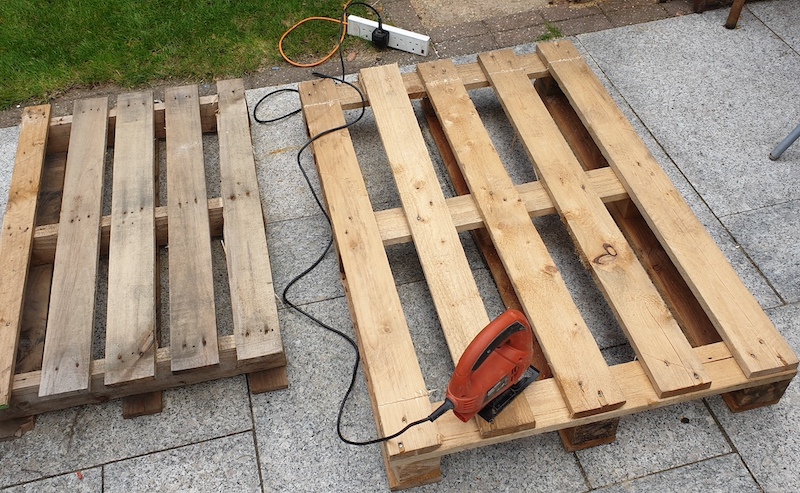
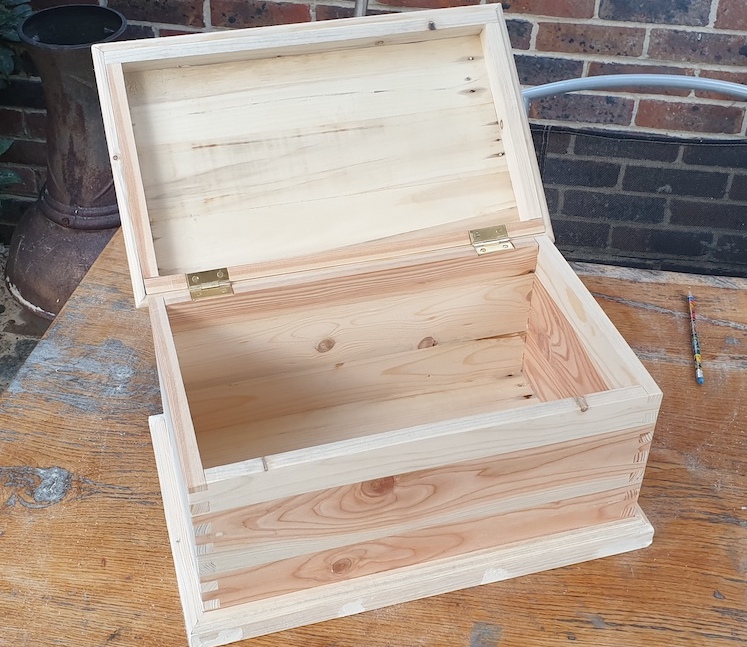
All the DIY this year meant we got a couple of things delivered on pallets. I’m past the stage in my life when I drive round industrial estates slinging pallets on the roof rack because they might come in handy, but given that they were already here, I decided to use them to make a box. Specifically a box to store all the paperwork that piles up on a desk. The only design constraint was that it had to be big enough to store a big stack of A4.
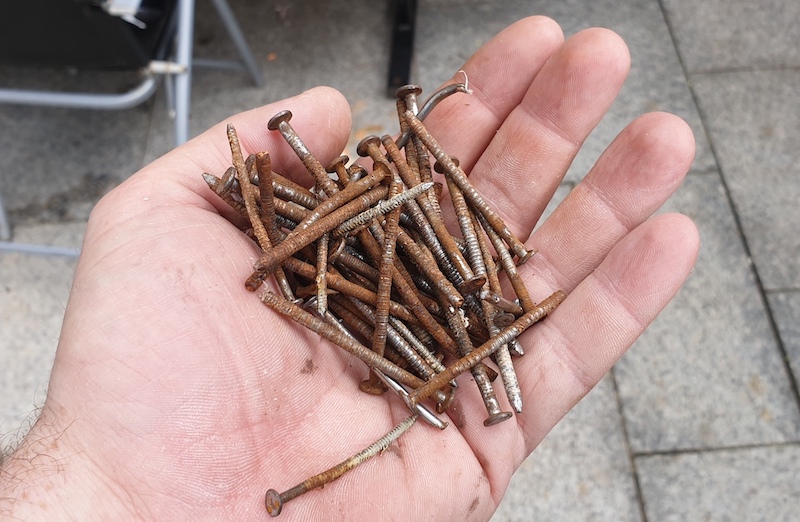
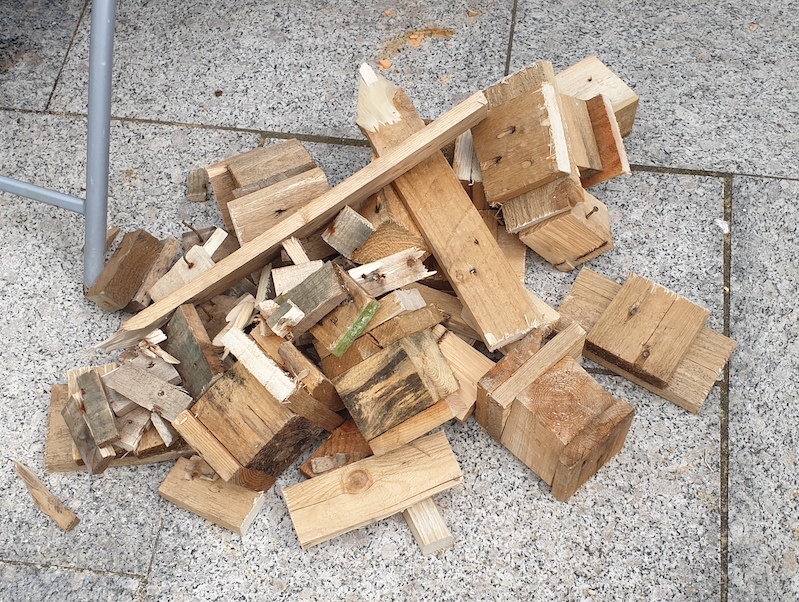
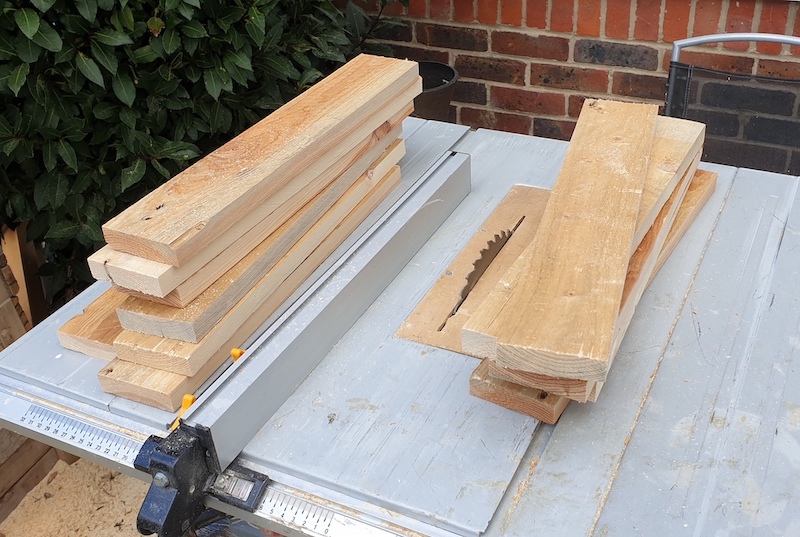
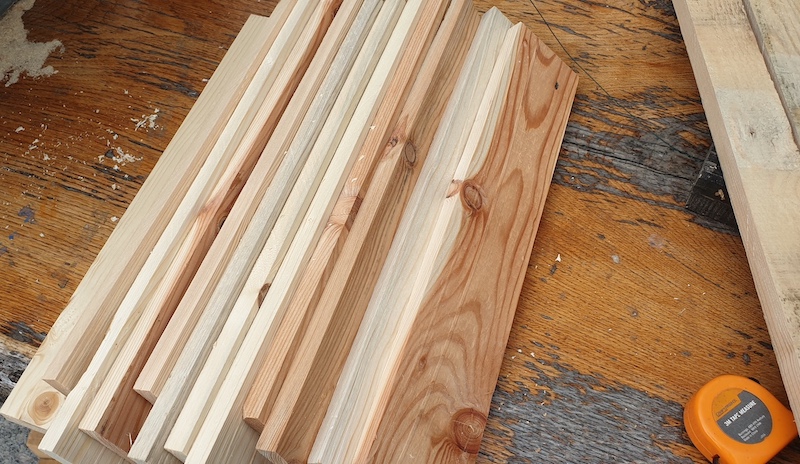
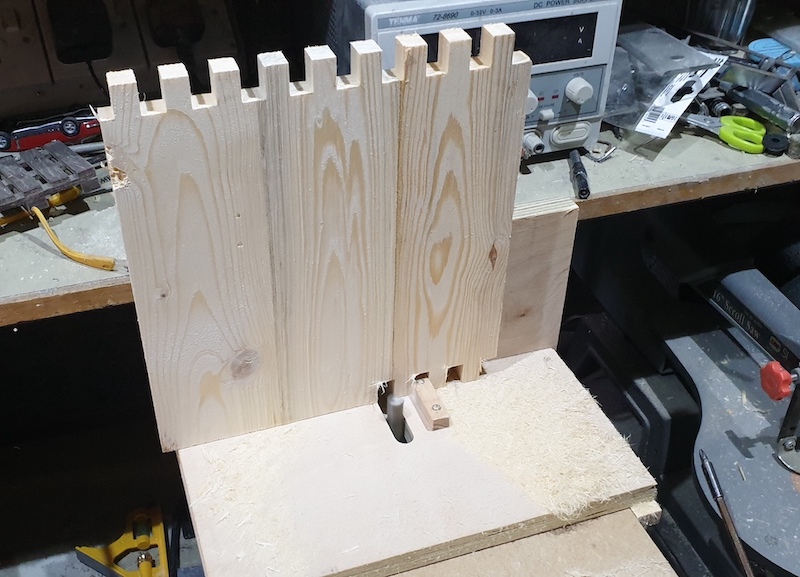
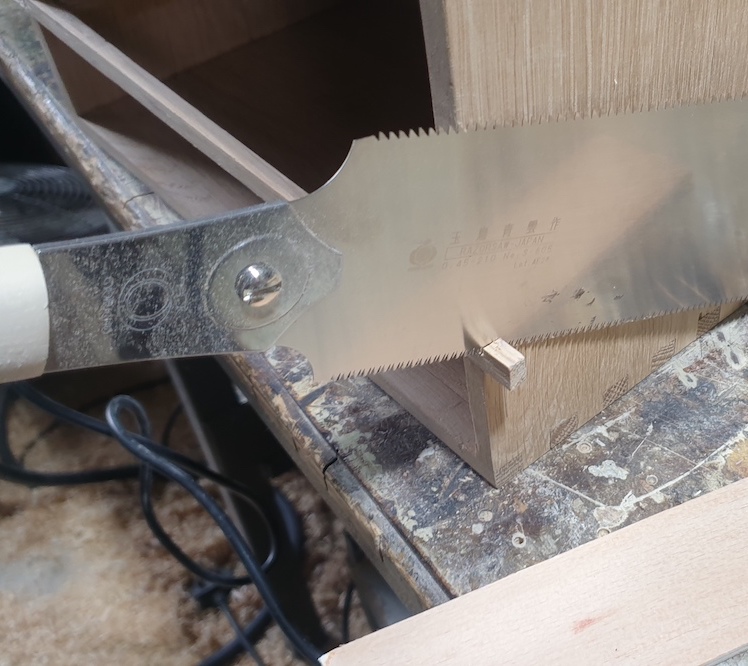
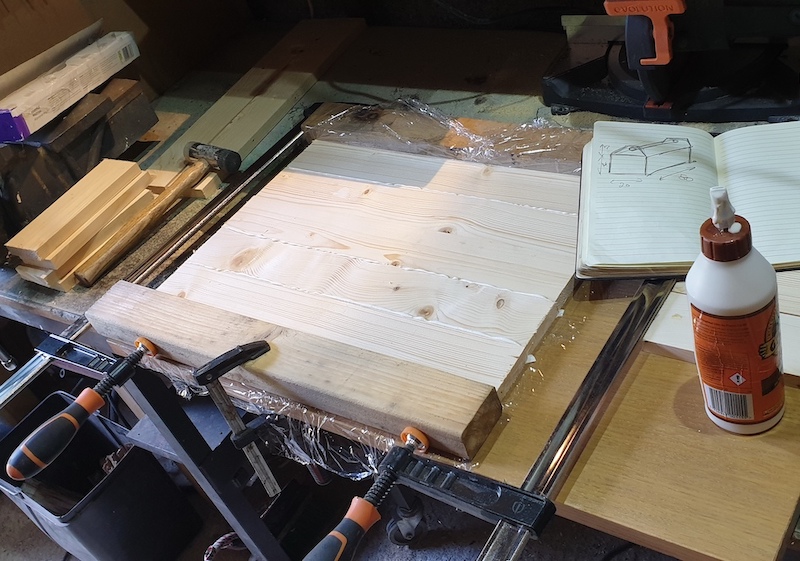
First step with any pallet project is removing about a hundred haphazardly placed nails and turning the resulting scruffy, low quality pine pieces into a small stack of vaguely usable wood.
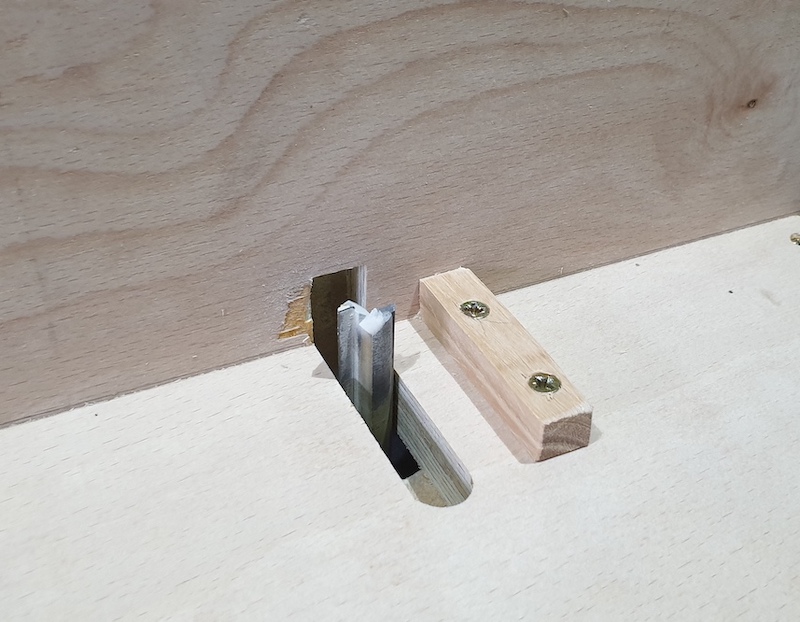
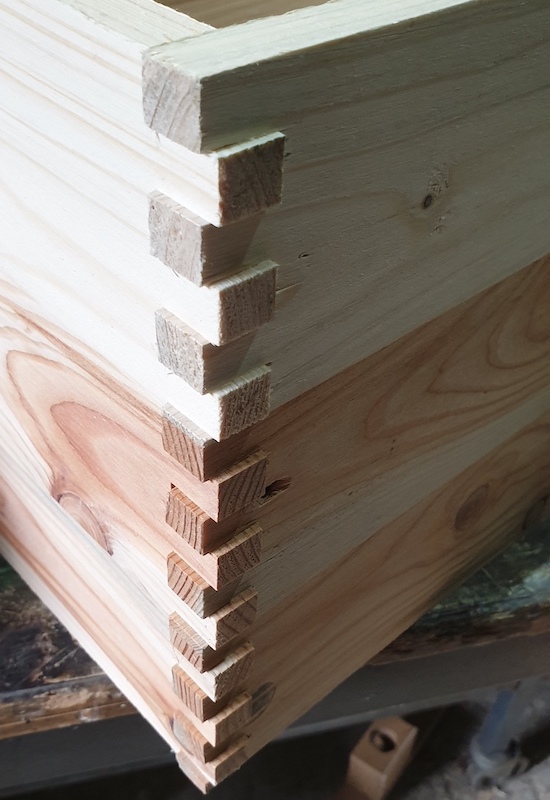
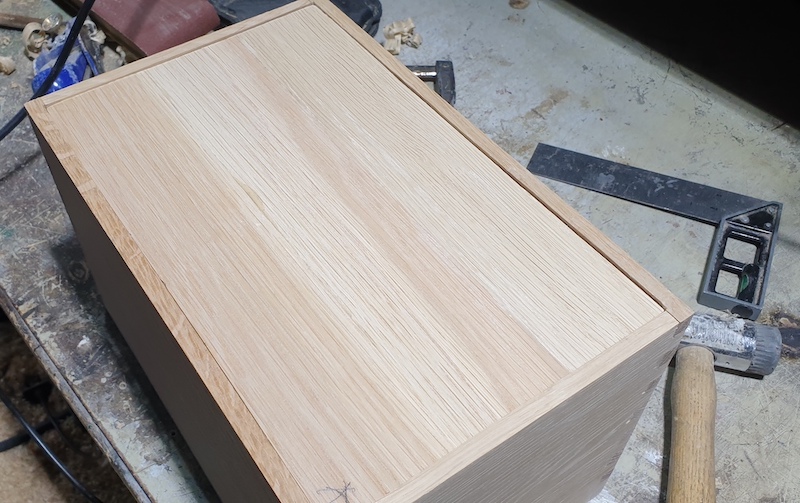
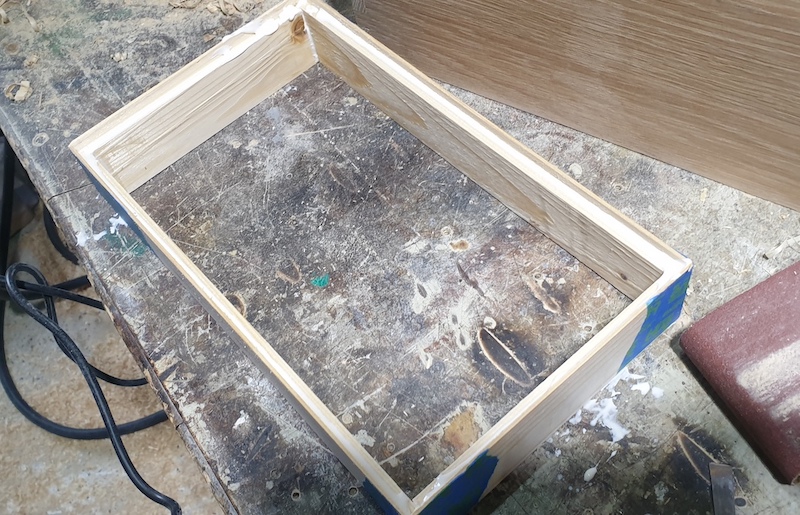
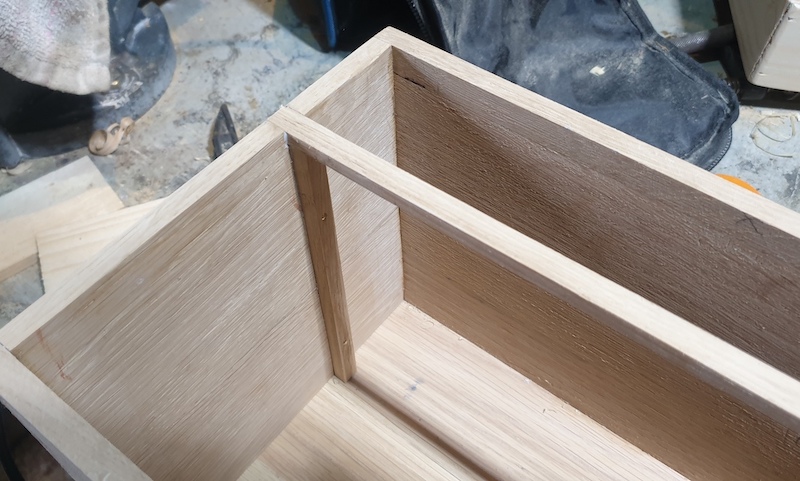
Next job in this case was to make and use a box joint jig to join the four sides. I was super happy with the results here. Pine, being a soft wood, is really forgiving when using joinery like this, because if you keep the joints tight the wood will “squish” a little bit and fill the gaps.
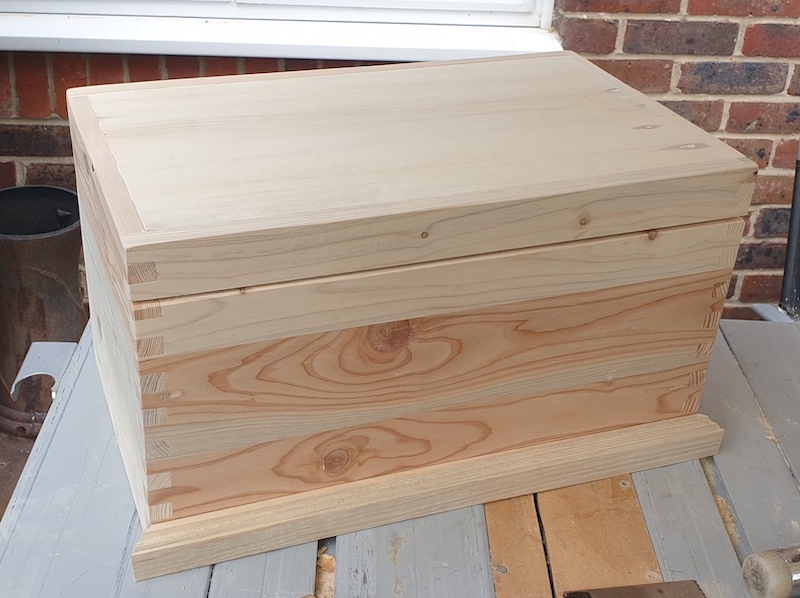
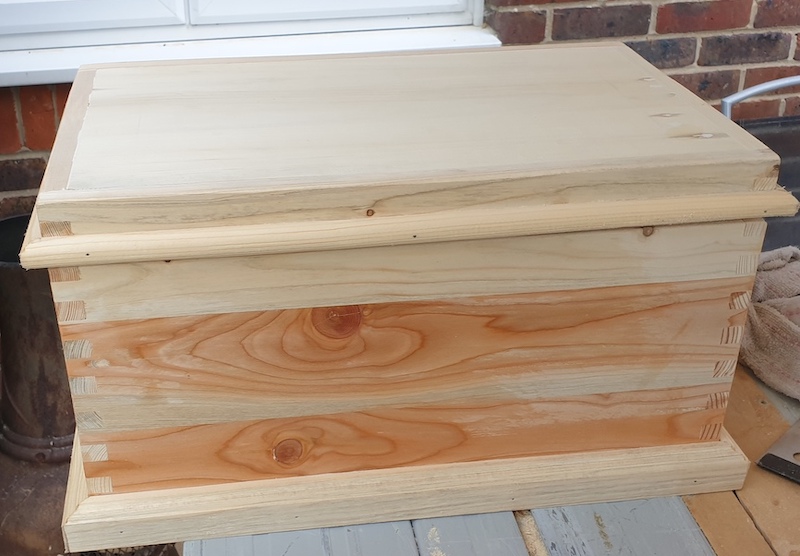
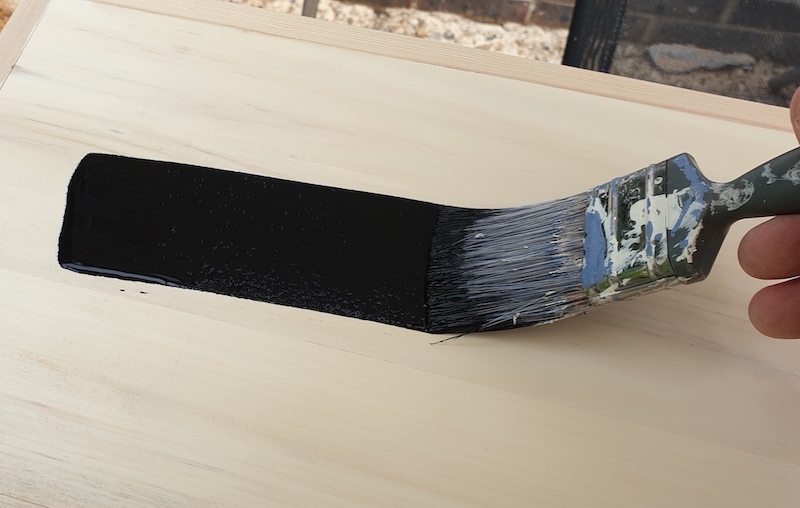
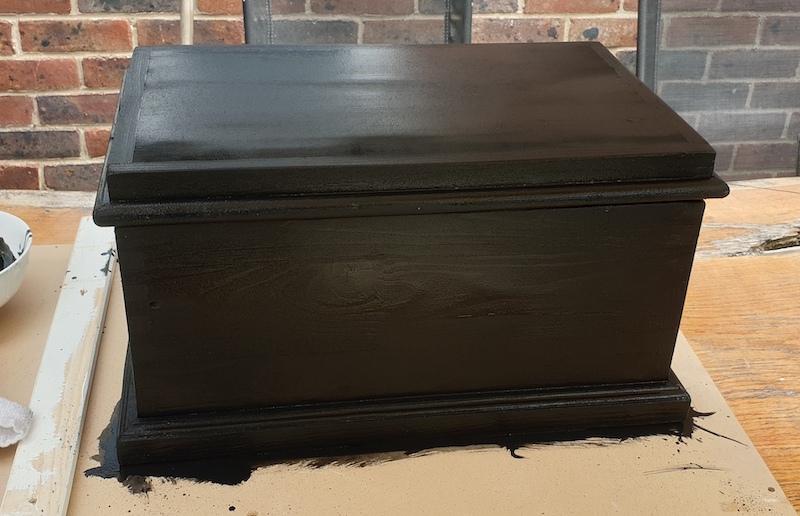
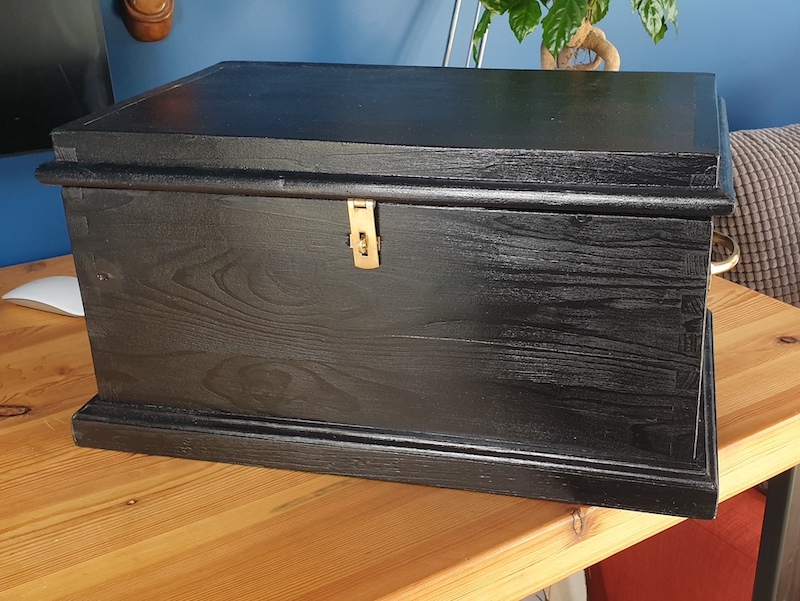
The grain pattern is really nice on some of the sides of the box, but the mix of wood species means the colours are pretty mismatched. I fixed this with some really dark ebony wood stain (I think it’s basically India ink) which allows the grain to shine through. I also added some twiddly bits around the edges and some brass hinges and handles. I was super happy with the results, but the kids’ first comment was “Daddy, why have you made a coffin”. I guess it’s good to know that, if we ever have a family pet that needs a funeral, I’ll just need to find somewhere else to put the gas bill.
The Desk
Since I spend most of my time sitting here at the moment - on Zoom calls, doing work, playing games and writing blog posts - my desk in the fortress of solitude has been a big focus for my maker activities this year.
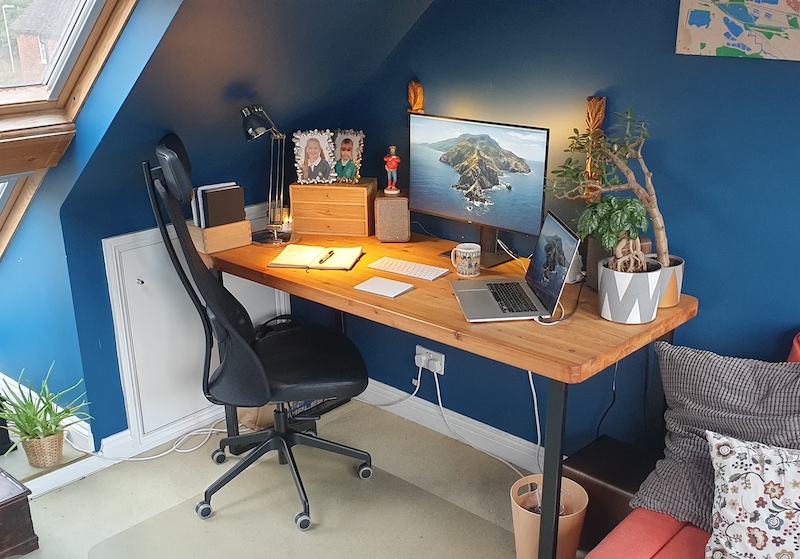
I started with the basics: sorting out the height of the desk was important, as I started 2020 with a bad back, I needed the height of the desk and the monitor to be right for keeping me upright. I also needed to do something about the tangle of wires, chargers and plugs that tend to litter every desk these days.
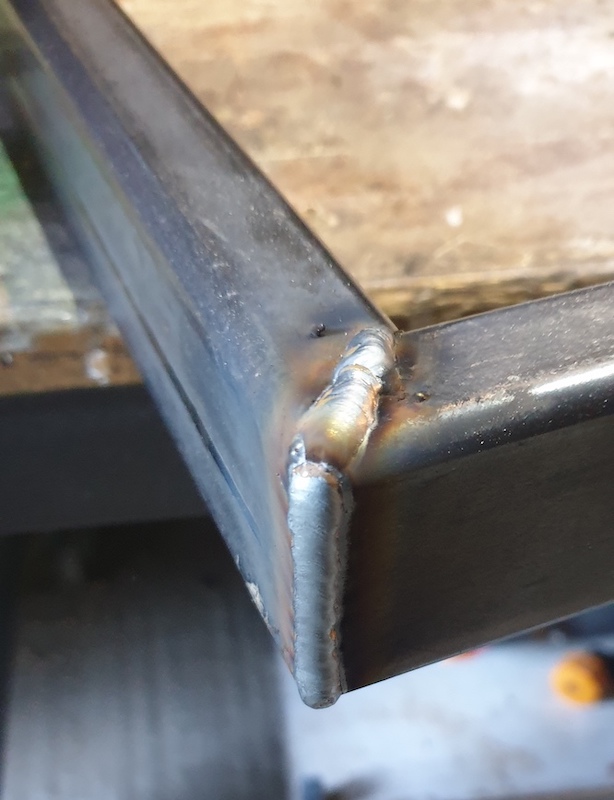
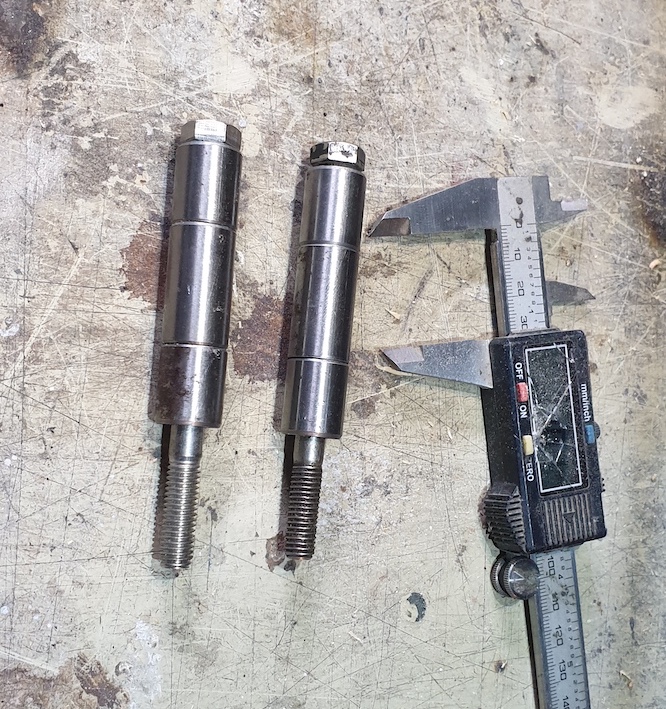
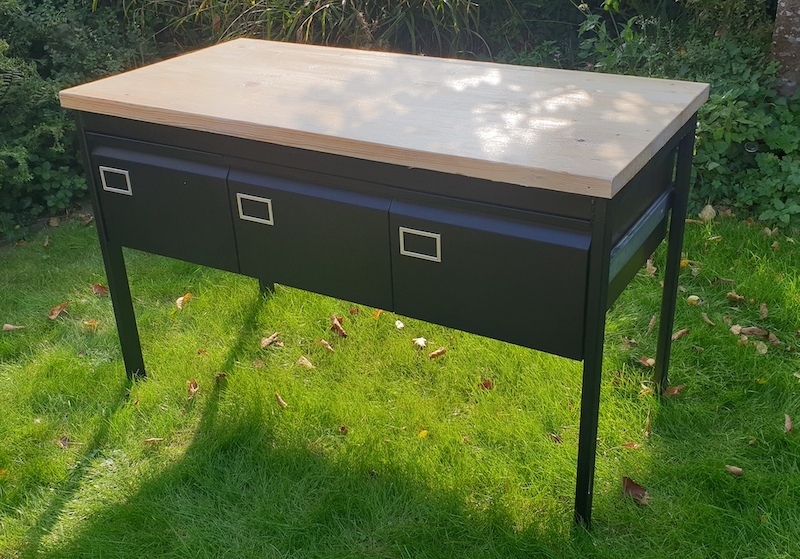
The legs are welded together from steel box section at a height that makes me happy. They’re so over engineered I suspect I could park a car next to my macbook without any major issues.
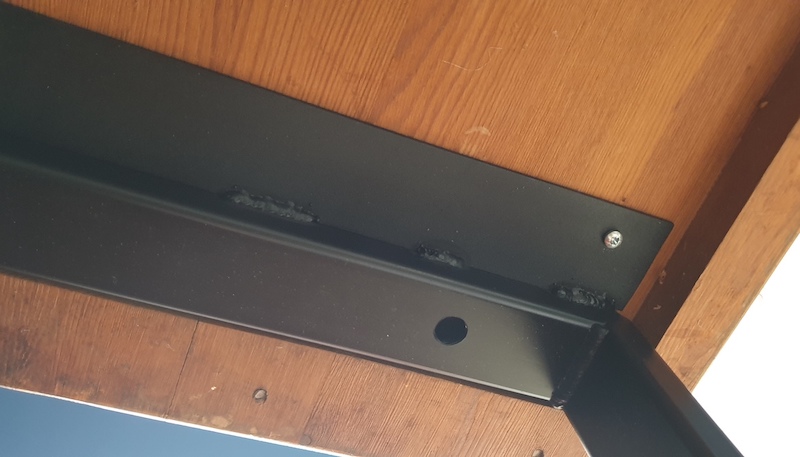
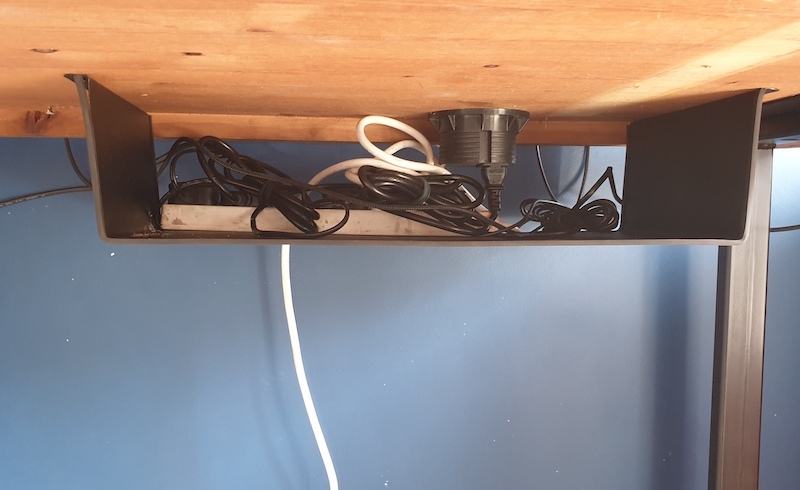
The wires all get bundled into a simple metal tray, which sits under the desk. The tray itself is made from the side of an old filing cabinet and I added a flush mains socket and USB to the desktop itself, which means I can plug in my laptop and charge up phones, keyboards and whatnot without excessive clutter.
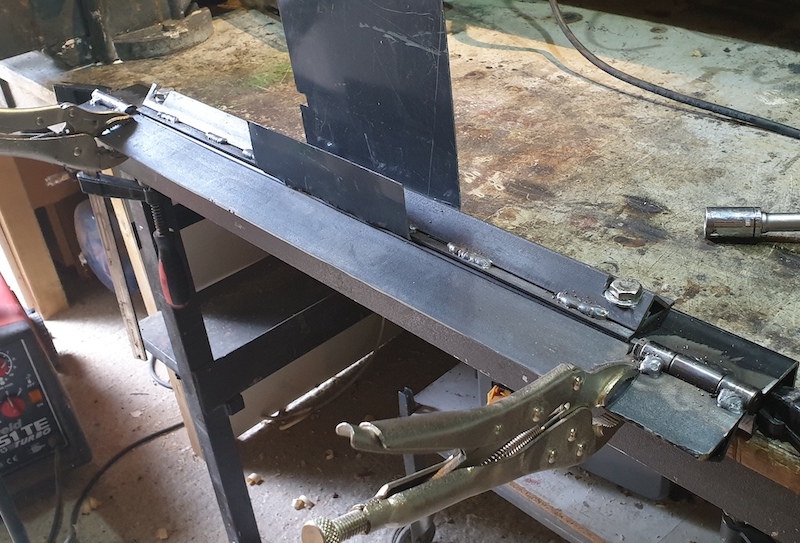
Making two perfect right angle bends in a very large chunk of metal is a challenge. In the end, I welded together a simple metal brake, which clamps the sheet in place and hinges along the edge. It’s very heavy duty, pivoting around a 6mm bolt and made from thick steel. In all honesty, I’m not 100% happy with how crisp the bends turn out - but it’s a damn sight better than using a hammer!
The desk was the biggest metalwork project of 2020 and I am super happy with the results. The desktop itself, by the way, is the family dining table from the parents’ house. It was probably bought before I was born and still has scars from my childhood days.
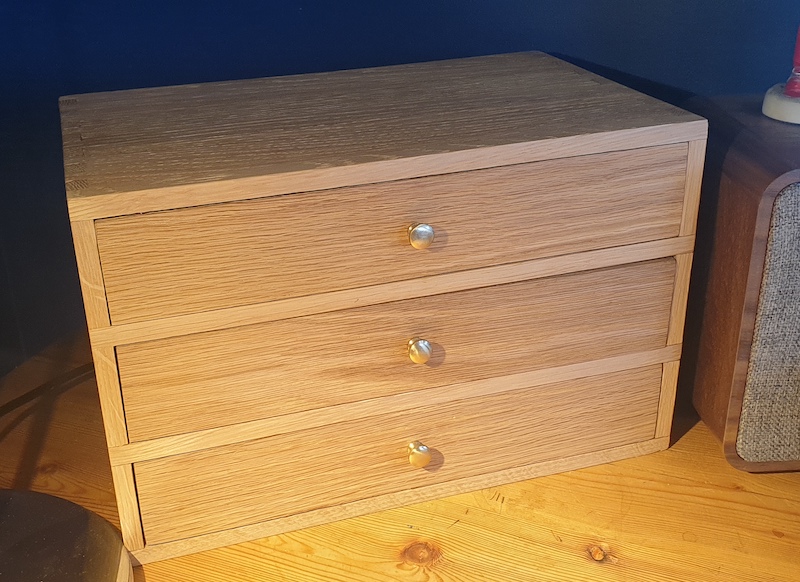
The Desk Drawers
These little drawers now live on my desk, where I use them to store pens, printer ink and general desktop junk. They’re made from oak, with pine/plywood drawer boxes and finished with beeswax. This was my first joinery project working with oak (having made a couple of tabletops in the past) and it was a huge step up from working with softwoods. Oak is expensive, brittle and unforgiving, but on the plus side it smells amazing, looks fantastic and will last for a hundred years.
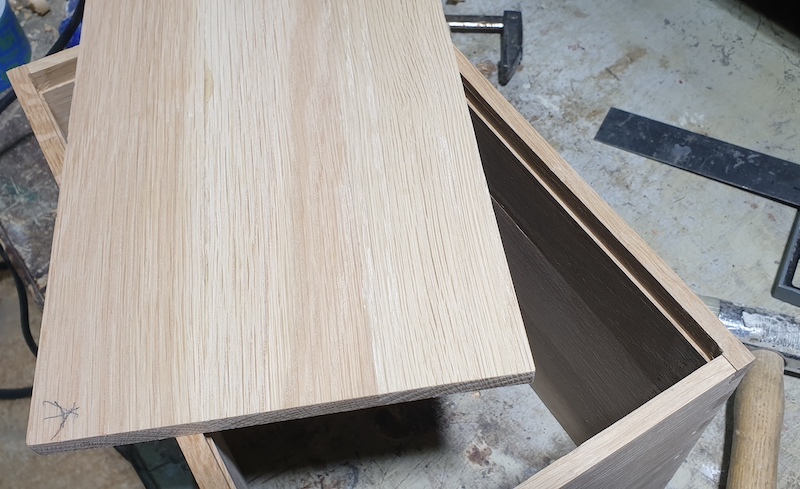

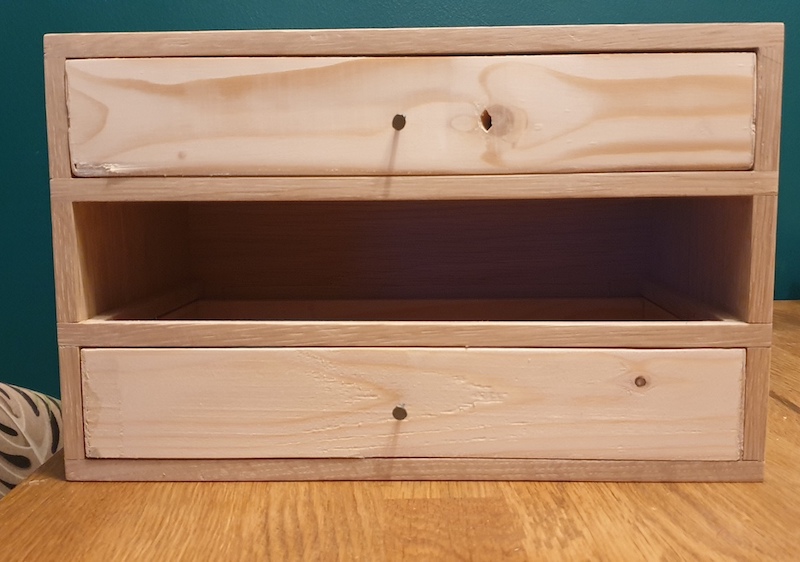
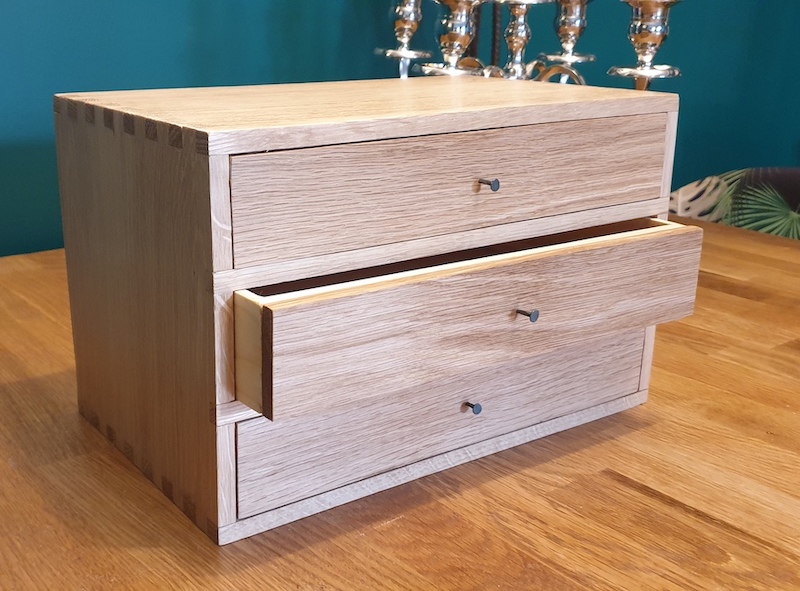
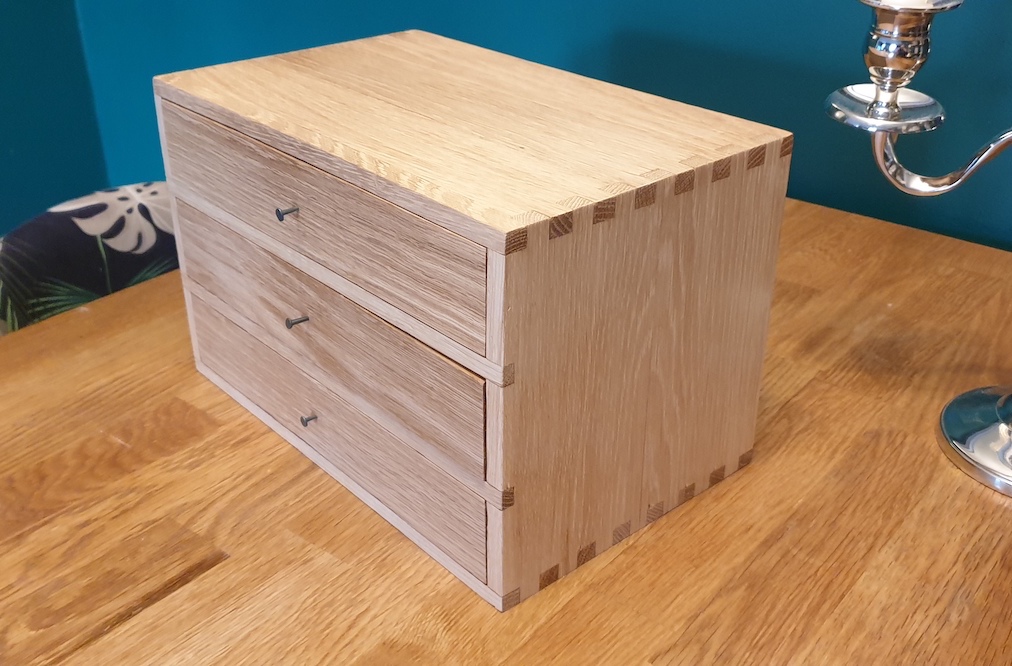
The photos can’t capture my favourite feature of these little drawers: the way they feel. I sanded them to 320 grit (which isn’t crazy fine or anything) and finished them with a bog standard beeswax polish, but even so, they feel amazing. It’s hard to explain, but there’s something truly unique about the feel of polished oak.
The Tool Tote
I can’t tell you how handy this little caddy/tote thing is. When doing DIY round the house - putting up shelves for example - I always ended up running backwards and forwards grabbing drill bits, rawl plugs, pliers and whatever. Now, when there’s a job to do, I just grab the tote, throw in the things I need and off I go. Super useful. Pirate logo optional.
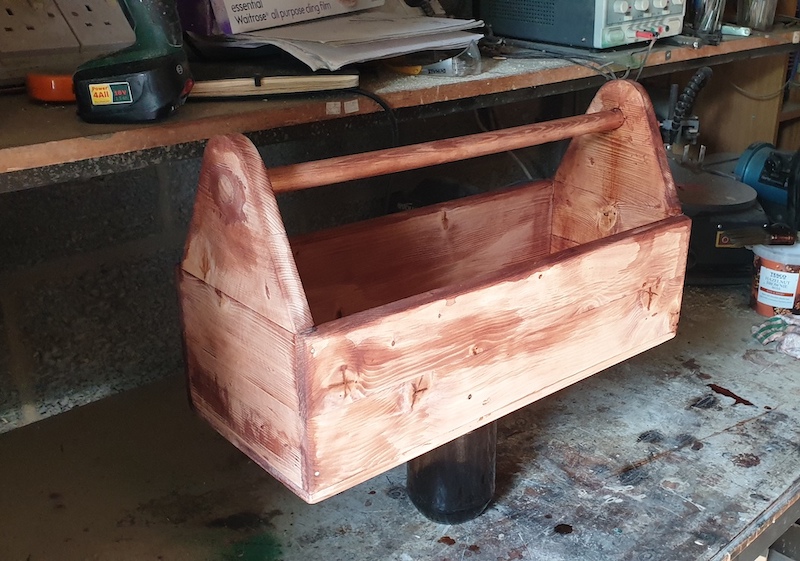

I made it from some spare/scrap wood I had knocking around after the living room project. Of course, it would have been really handy when doing the living room project… but there you go.
Workshop projects
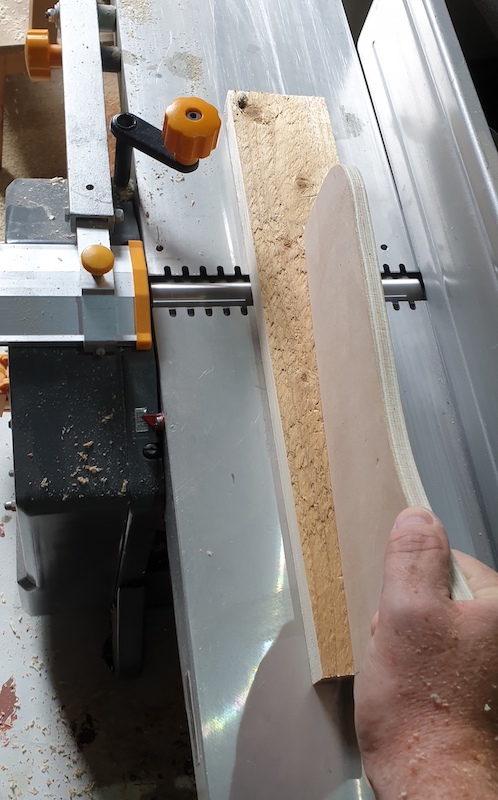
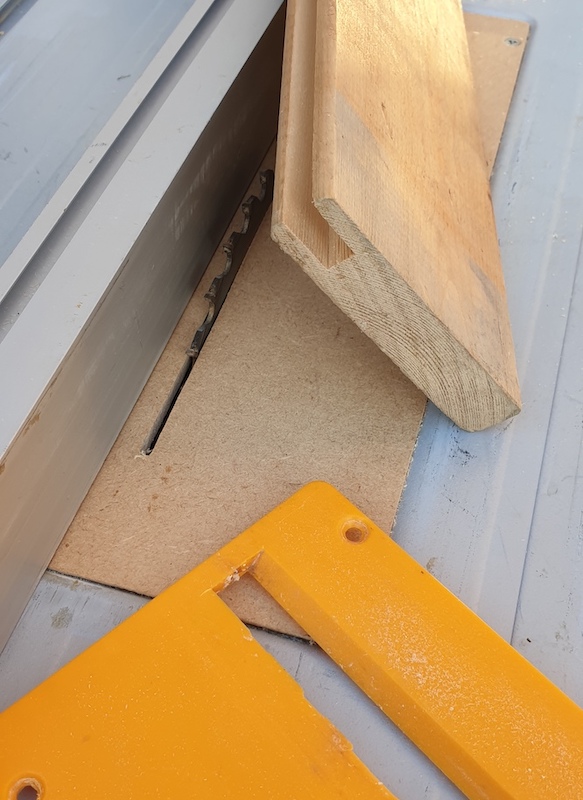
Two major projects in the workshop to report on this year. First was a new motor for the band saw. The old one gave up the ghost last year - Partly because it was getting pretty old and partly because worn-out bearings and piles of swarf and sawdust had made it harder and harder to move the blade.

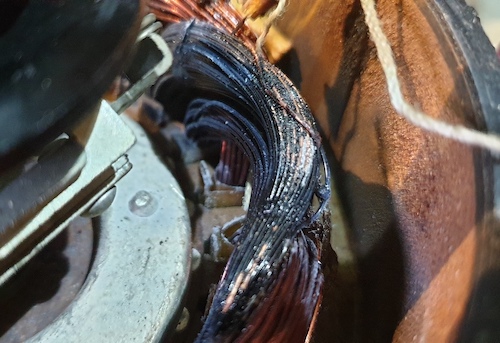
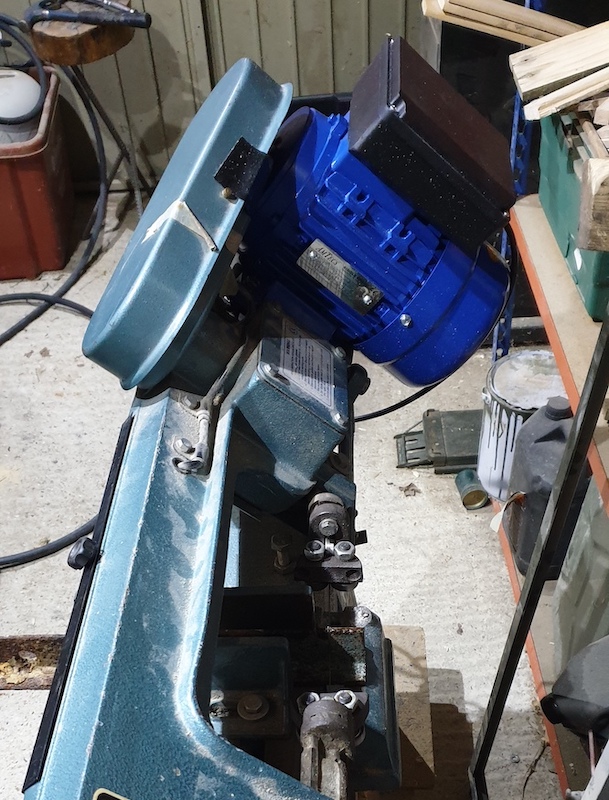
As well as fitting a lovely 1/2HP motor I swapped out the bearings and gave everything a good clean. The saw should be good for a few more years now.
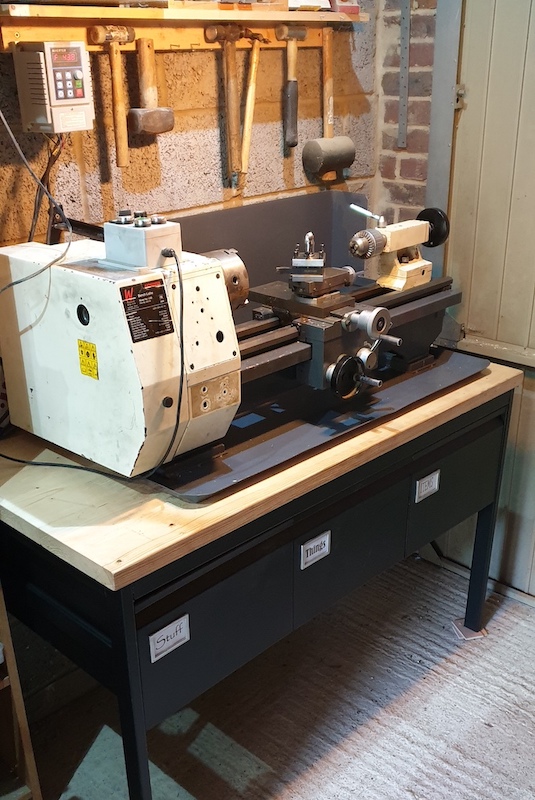
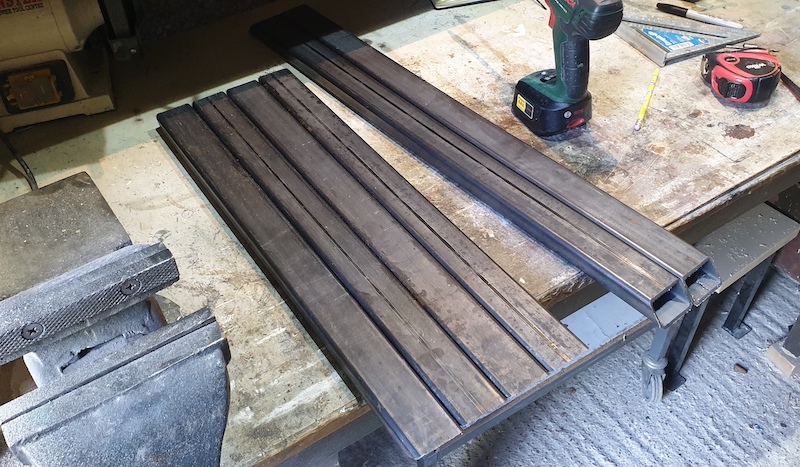
Second project in the garage was a new table for the lathe. Using the now ubiquitous scaffold boards and 25x50mm square steel bar, along with some old filing cabinet drawers, I managed to weld this up in a day. The drawers stick a little, but storage has been greatly increased and using the lathe doesn’t give me a bad back any more.
Bunkbed 2.0
A couple of years ago I made a bunkbed, so the girls could move into a room together. They’re bigger now (I know right!?) and after their own space, so elder daughter decided she wanted to move to the tiny box room.
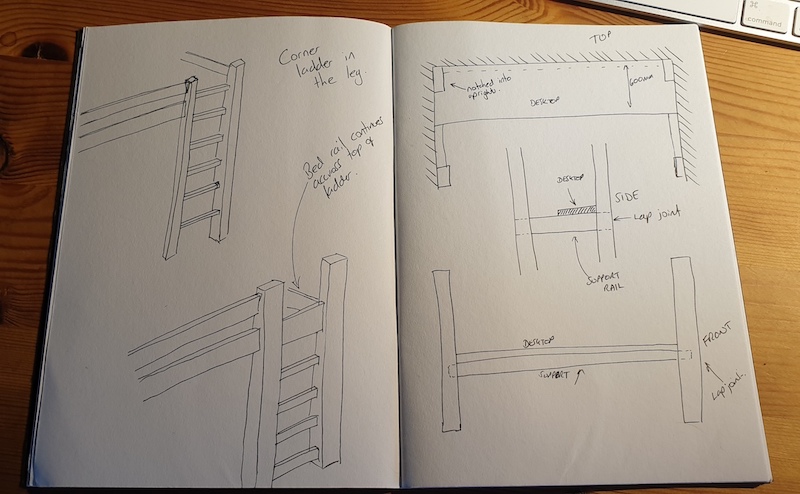
This meant squeezing a desk, bed, wardrobe and bookshelves into a tiny 2x2m space. The only sensible solution was a “high sleeper” with bed built in underneath.
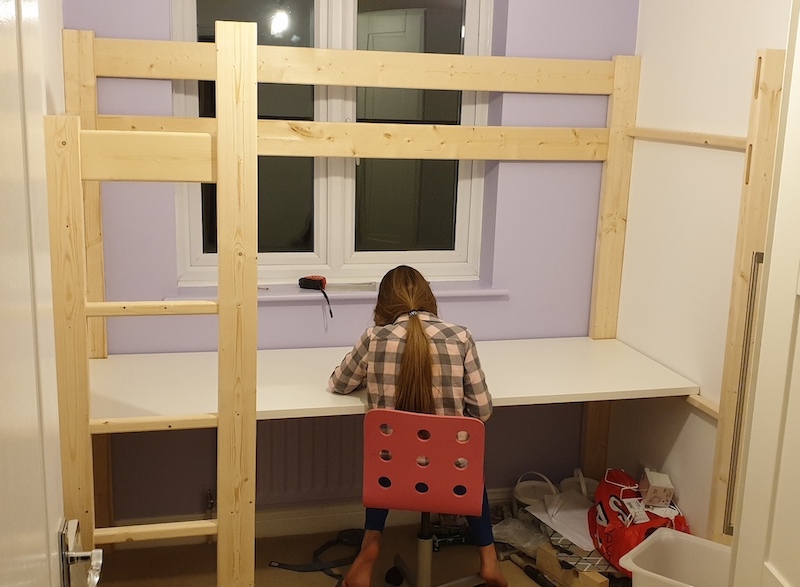
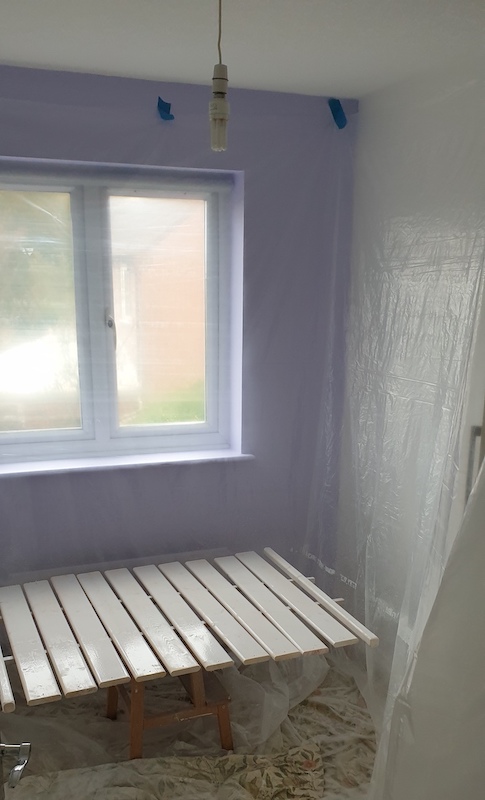
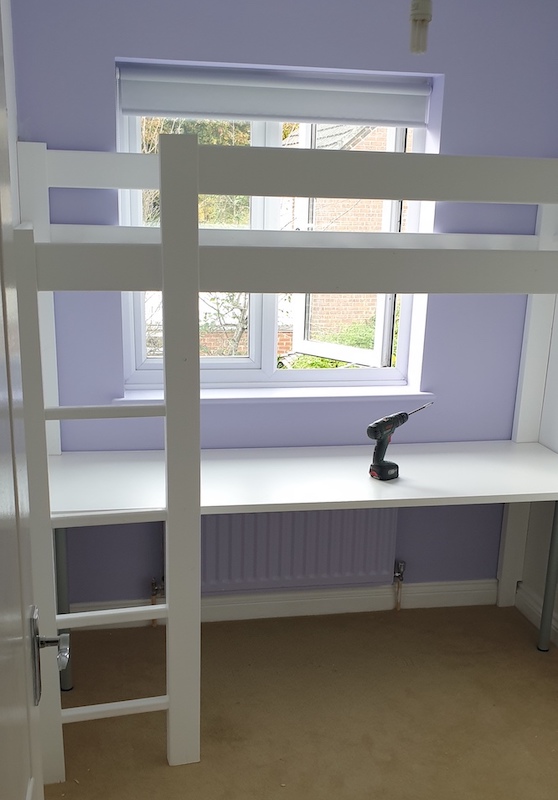
Thanks to a new router and much more care, attention and experience, the joinery on the new bed is way better than the old one. I also bought an HVLP spray gun to paint it - which was a massive hassle, but better than using a brush. I hate painting.
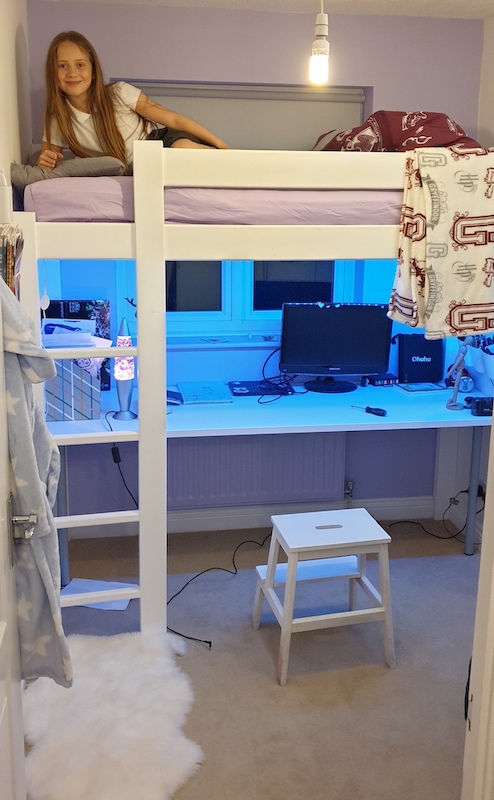
Daughter seems happy with the results - and has as much space as she needs for art, homework and spending 18 hours a day watching gamer videos on YouTube… We did buy her a proper chair eventually too!
Doors doors doors!
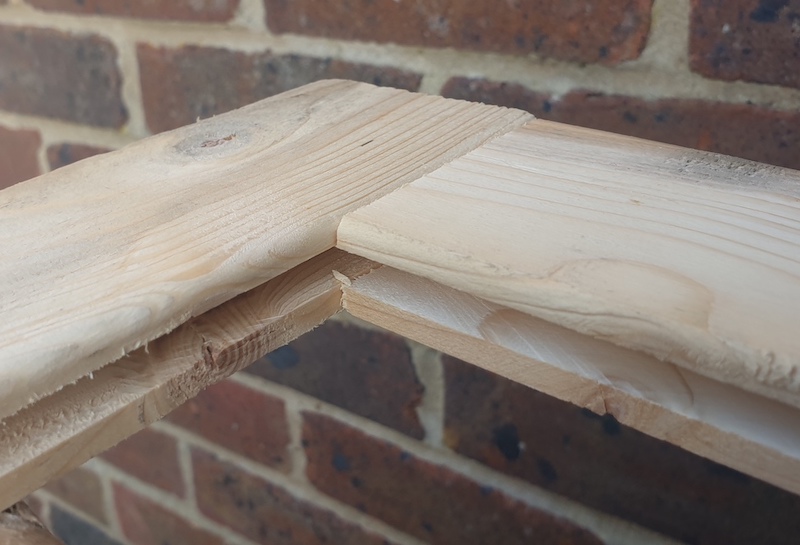
2020 was the year I learned to make a shaker style door. Largely down to the thousands of excellent tutorials on YouTube, this went pretty well. My first few practice doors, made from scrap shed pieces and installed in the garage, were a bit wonky, but by the time I came to do the ones in the living room, I was getting pretty decent results!
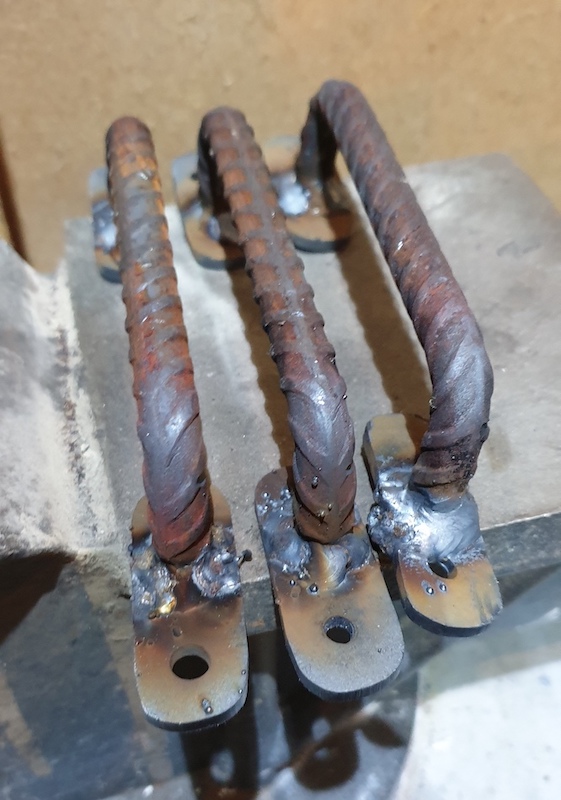

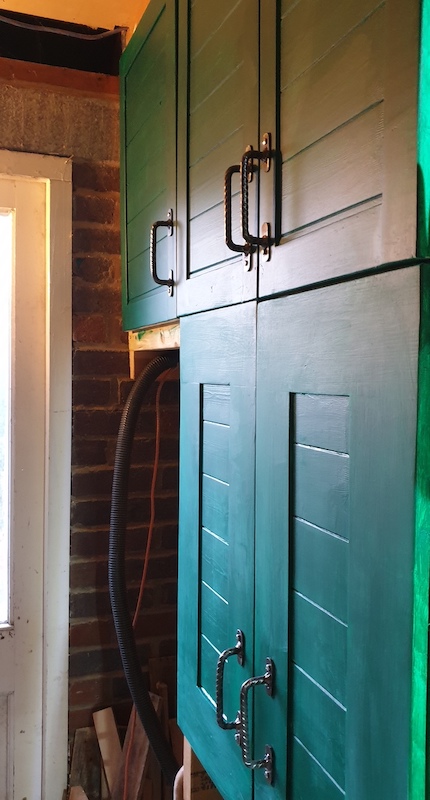
Obviously I also had to make some handles for the garage - which as I said above, became the inspiration for various shelf brackets round the house. Rebar is a great material to work with, though it does need some serious muscle if you plan on bending it, as I did here.
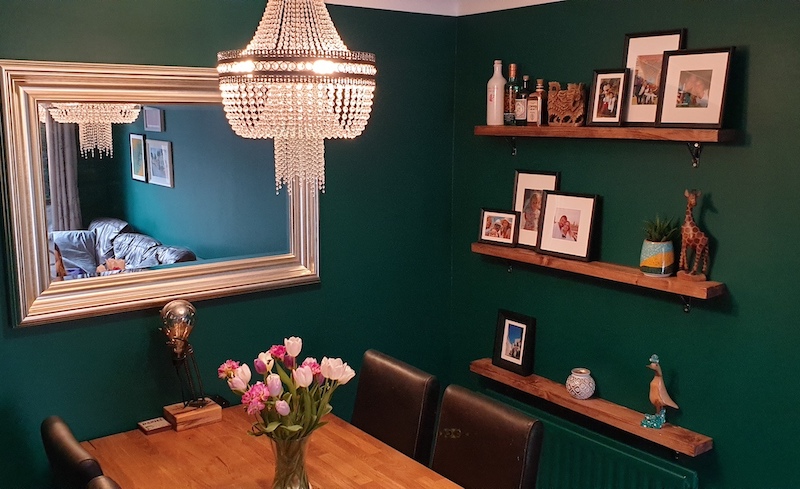
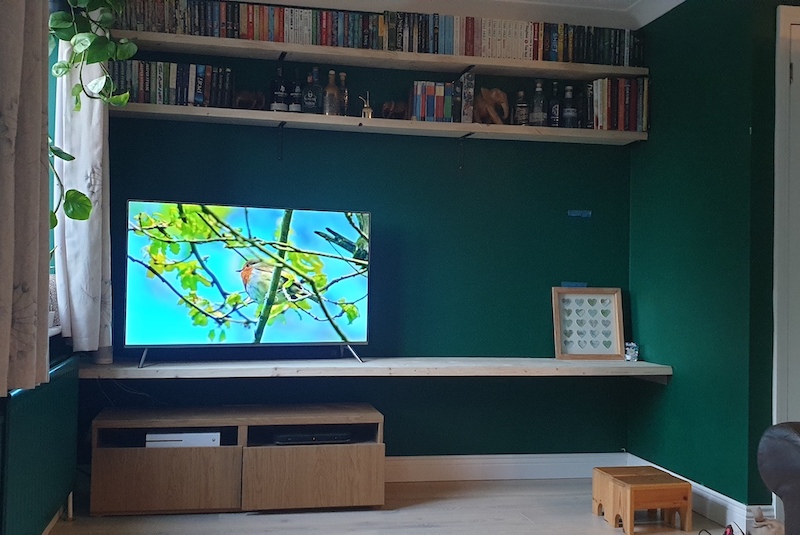
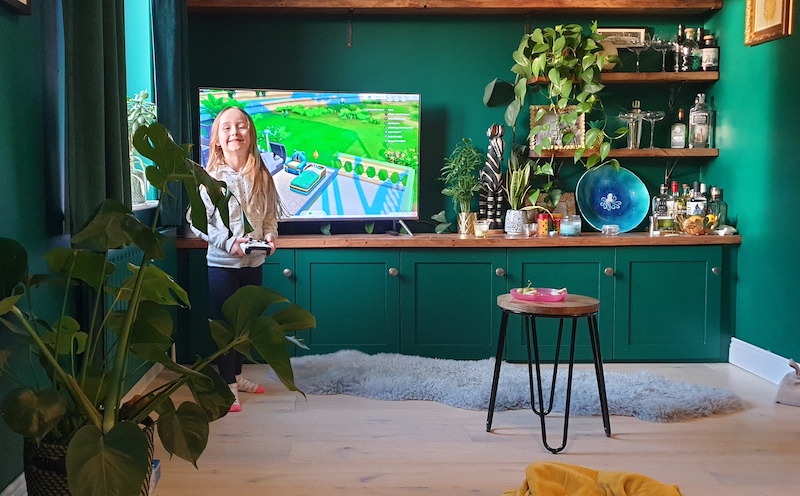
The living room is entirely DIY: shelves, bench, cupboards, brackets… basically everything except the dining table and sofa. Pretty happy with the results - you just have to like green.