
Start me up!
A while ago, you may remember, I had an embarrassing breakdown caused by dodgy connections on the starter motor cable. Same thing happened the other day when I got home from work. It had been a hot day and the temporary insulation I’d put on the positive terminal had melted away enough to allow this starter to short again. This in turn had welded the nut to the terminal.
In the process of getting the nut off - which meant using the nut splitter in the end - I sheared the terminals inside the motor itself. Joy!
Luckily had a spare starter I picked up at Sodbury last year. After much swearing and finger bashing I got the old starter off and the new one on. Turned the key… nothing. The replacement starter was not a goer!
 So the only course of action left open was to attempt a repair on the old starter. I used the replacement one (pictured above) as a donor to fix the connections on the known-good, old motor.
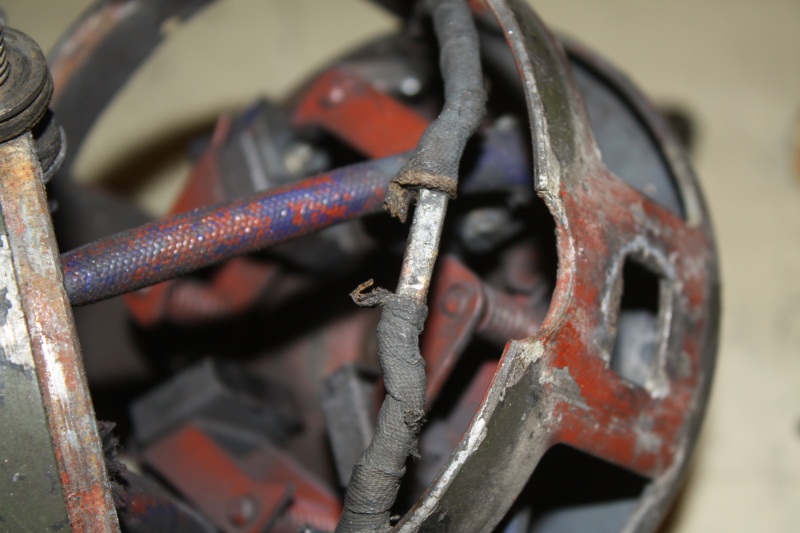
 This is what happens when you don’t use the right nuts and bolts to properly attach the contacts to the starter terminal!
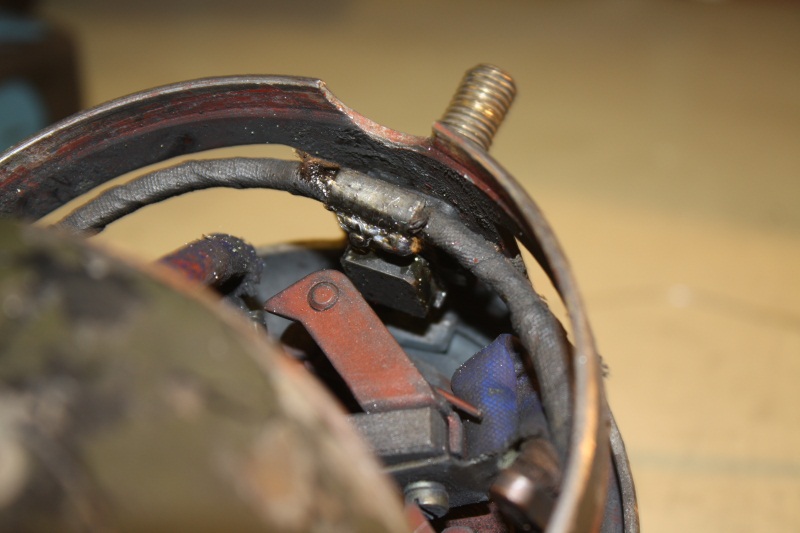
 Here’s where the tab goes. The bar inside links the two positive brushes to the positive contact.
 Bits and bobs from the old (left) and replacement (right) motors. Note that the insulating bush is smashed to bits and the contact/tab is snapped.
 Tab soldered onto the positive rail inside the motor. I decided to use solder to get the resistance down as low as possible. It took quite a bit of heating with my crappy little iron to get the solder to bind to the tab and bar!
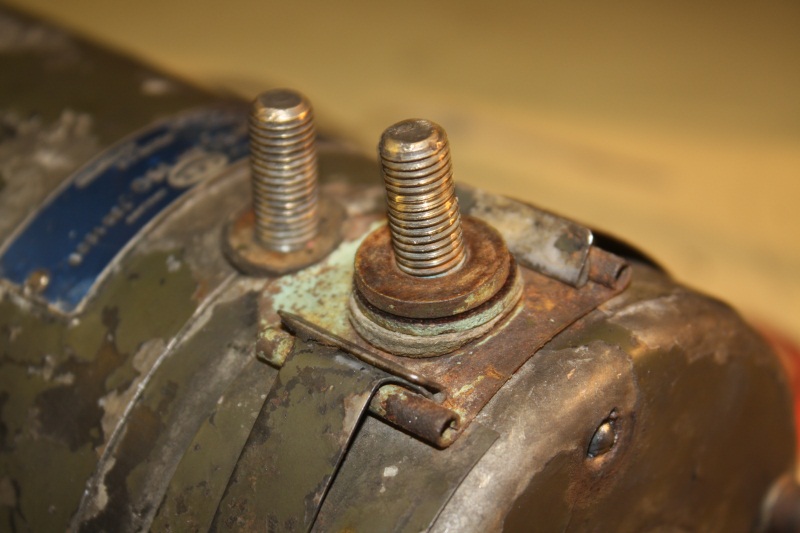 Good as new!
Bolted the old starter into place and turned the key… nothing again! Some swearing and cursing took place. I unbolted the motor and turned the key again and it fired up fine. Back into place on the engine and everything worked. I can only assume that the gears had not lined up correctly the first time.So, now The Duke is back on the road and I know what the inside of a starter motor looks like!