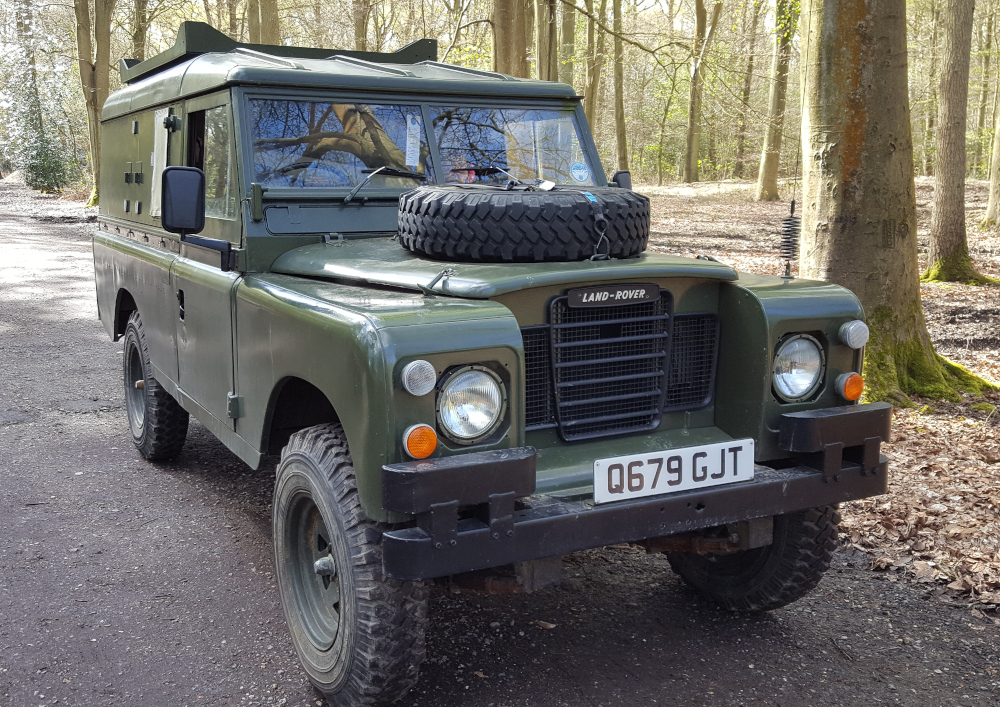
Good Progress!
I got up early today - on a Saturday - to get a full day working on The Duke. I’ve finished now, with seven hours of hard work done, a slight sunburn and a big smile on my face! After a long soak in the bath I’m going to hit the beers and celebrate.
“Celebrate what?” I hear you cry. Well, today I ticked off a fair few things from last week’s To-Do list and I drove The Duke backwards and forwards a bit, which always makes me happy!
First off, I got the pressure washer out - kindly lent to us by Lorna’s boss - and cleaned off the drive, the chassis and the underside of the tub. With a nice clean surface to paint (decided to leave any old covering which withstood the Karcher) I could whack a thick coat of underseal on and get it looking smart. Well, smart for the underside of a twenty year old car anyway!
 Undersealing the tub.
I also got another coat on the rear of the chassis, which is now quite thickly smeared up with the stuff. Special thanks go to the seagull which did a poo on the chassis just after I’d applied the final brushload!
Next on the list was the throttle linkage - huge thanks to Satancom from the Land Rover Forums for sending me his old linkage. I couldn’t find the part number anywhere and was starting to worry, so his help was invaluable. Even more kudos to him for asking only for a £5 donation to the forum - something I was happy to do.
 The carb-throttle linkage finally in place!
Task number three was done while the paint dried - making up the rear wiring loom. I used a couple of screws in the fence to fix the cables, in a poor attempt to copy the pin boards they use in cable factories (my week’s work experience at 16 wasn’t wasted after all!) then taped them all together with a whole roll of rubber binding tape.
 Making the wiring loom.
Fixed it to the chassis with cable ties, adding a couple of clips of my own but mainly using holes already there. I tried to follow the path that the brake pipes take, as I assume somebody at Land Rover thought they’d be in a safe place!
 The new wiring runs along the inside of the chassis.
And finally, the biggest worry left on the project is now a thing of the past! I got The Duke to charge his own batteries! Decided that before I faffed about testing all the cables and components in the rather complicated charging circuitry, I’d try out the spare generator I got at Sodbury earlier in the year. Guess what… it worked! I now get a constant 27.8v across the battery terminals when the engine is running.
 Two generators. The new one was from a lightweight, so the mounting needed swapping to the other side.
This is a massive relief, as the unknown scares me a bit. OK, I have half a degree in electronics, but I was far from happy with having to test the generator circuits out myself! Having such a quick fix work first time is something to really be happy about!
 Just to prove I have a charge
All this good news obviously needs to be tempered with a bit of bad - and there was some bad news today. Annoyingly, I found another outrigger that is totally and utterly knackered. That makes two which need replacing and I only have spare parts for one. Also, this one is under the cab, so will be a right pain to get to.
You may ask how I failed to notice such a thing and the fact is that I didn’t. It was actually the first bit of rust I noticed when we picked The Duke up from Witham, but time had erased my memory of this tragic moment and I’d totally forgotten about it.
So, tomorrow will be a day of grinding and welding. Joy!