DIY Choke
The Duke’s choke broke a few weeks ago and, idiot that I am, I managed to order the wrong part to replace it. This left me with two options: return the part and get it exchanged for the right one or make a choke myself.
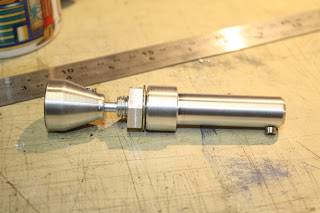
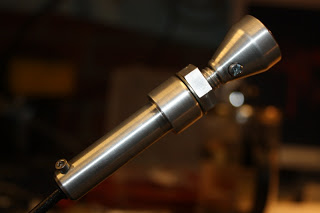
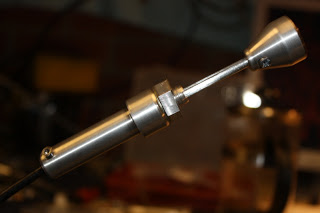
Given that I needed an excuse to play with the lathe, I decided to butcher the old and new chokes to make a new one of my own. The result can be seen in the following pictures. I am actually very pleased with what I’ve made, it’s quite solid and gives me more or less the same functionality as the original part.
It’s made from aluminium bar and all the parts were turned on the lathe. I even made the nut to hold it in place (which explains why it’s a bit wonky!). The shaft in the middle is steel as aluminium of that thickness would be next to useless.
The only bit not shown in the pictures is how I’ve attached the cable to the shaft. I drilled a 2mm hole a short way down the centre of the shaft, then drilled another 2mm hole through the side to meet it. I then hammered an L-shaped hook into the end of the choke cable and hooked it through the holes. To make extra sure it’ll stay secure, I soldered cable and shaft together. Not sure if the solder was needed, but it can’t hurt!


