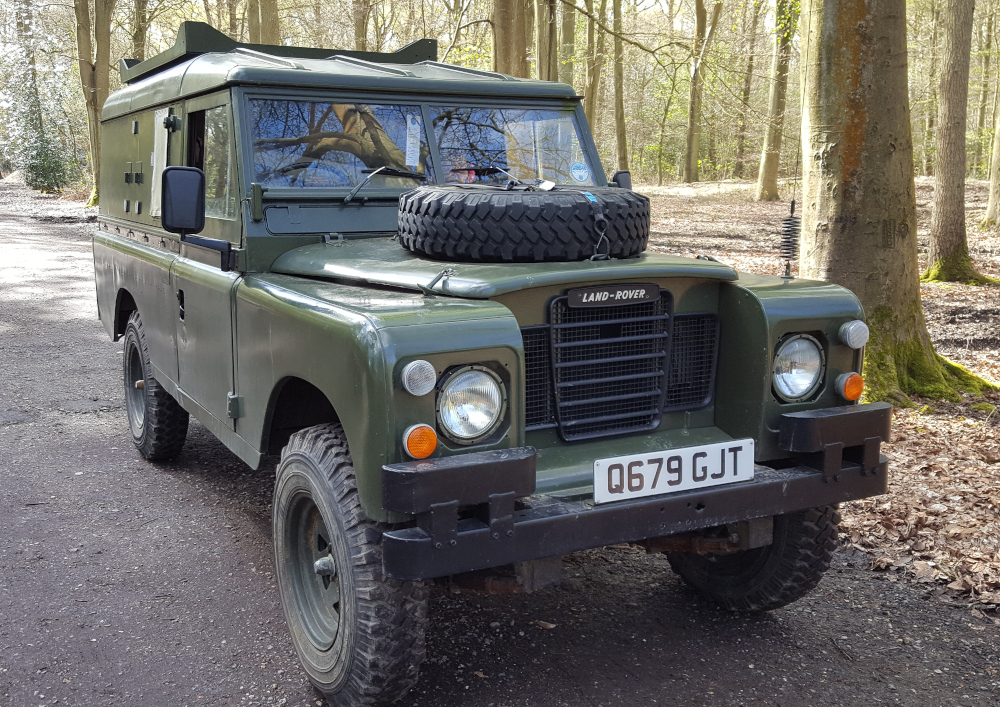
Brum brum! Quite a big update today. Spent a few hours this afternoon doing a couple of the nastier welding jobs on my list, plus there are some photos of some other bits and bobs related to the engine conversion.
Firstly though, a brum brum video…
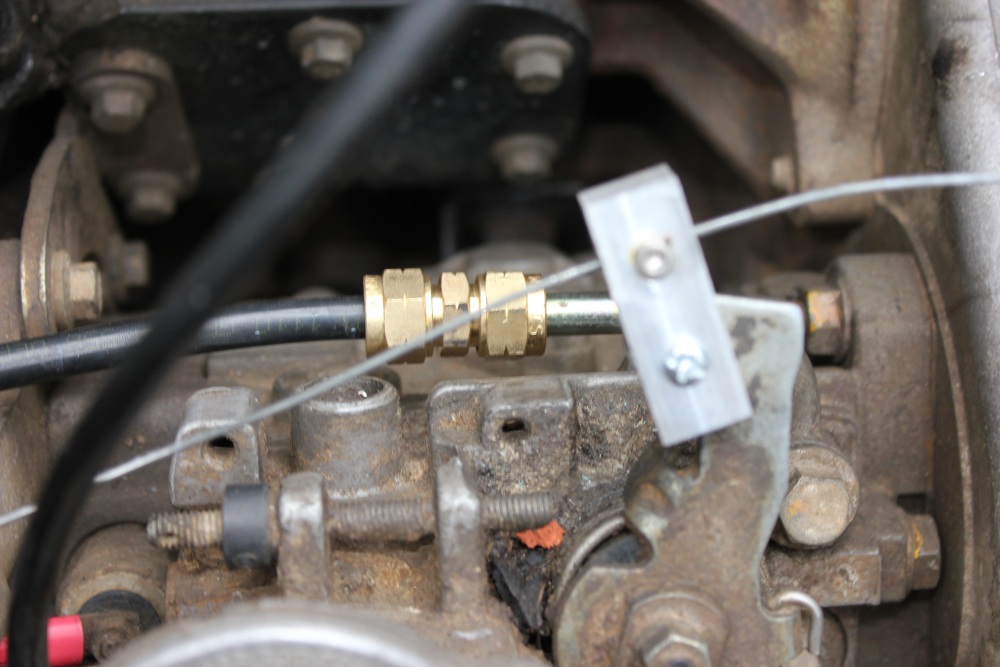
Here’s a couple of photos of the high pressure fuel fittings I got to replace the leaky DIY hoses I’d connected to the fuel filter. Found some informationSSL Diesel Parts, who I used and they were great.
High pressure brass fuel line coupling and, above that, the DIY throttle linkage I made from an old choke.
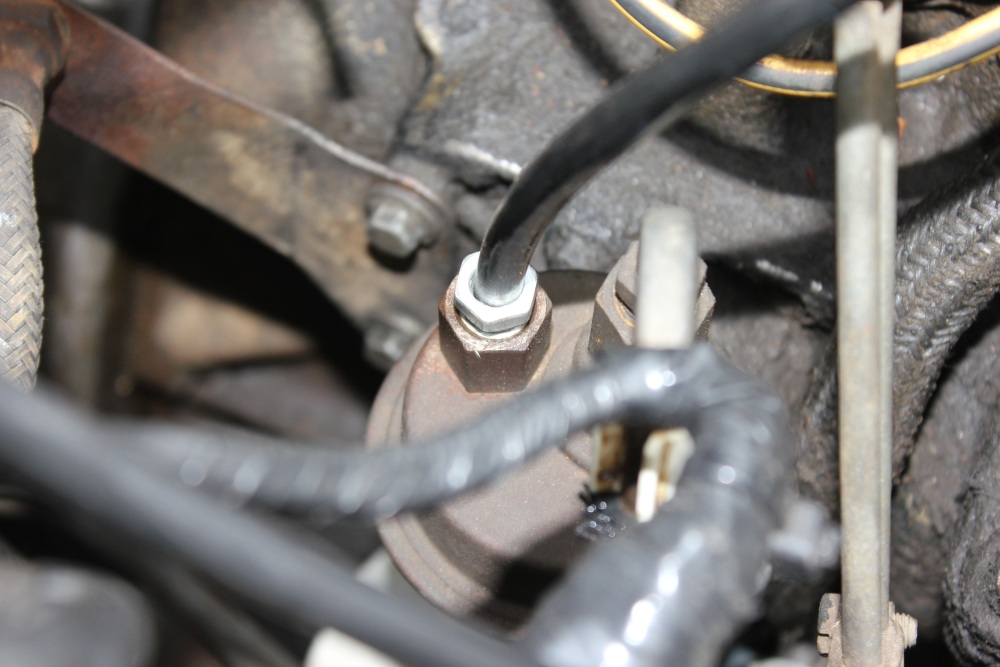
Proper compression fitting for the fuel pump. Only cost a few pence.
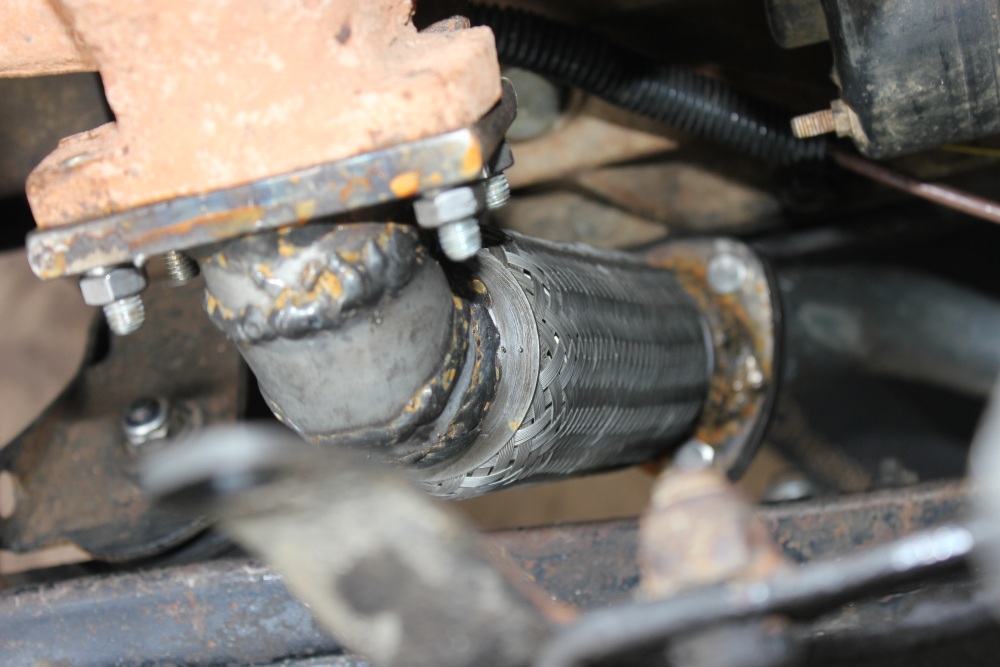
Not the best photo ever, but this is DIY exhaust MkII. The flexi bit really helps lower the noise.
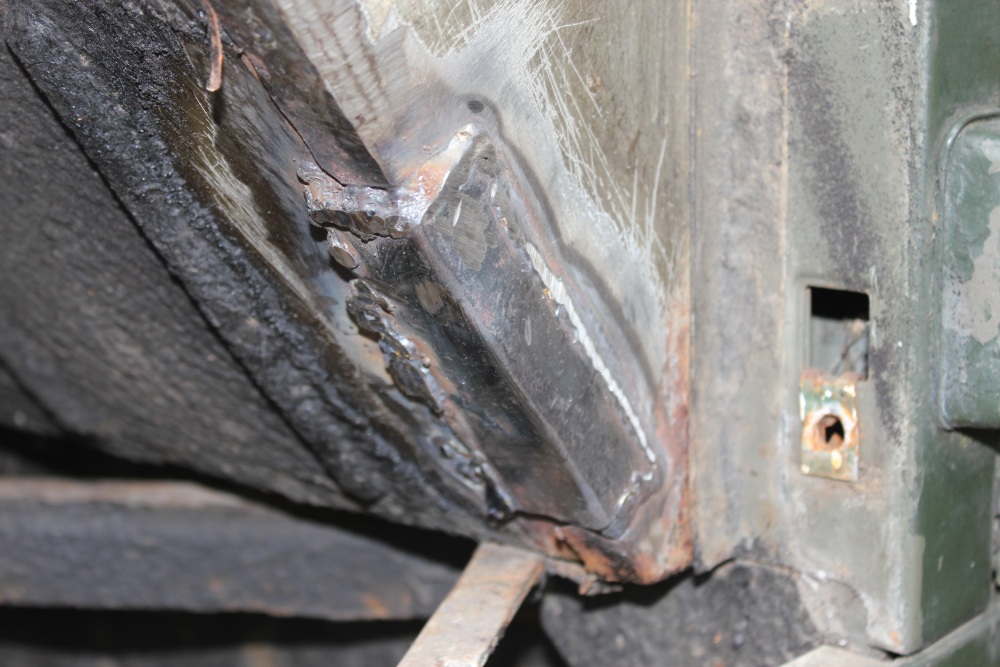
The big job today was sorting out the seat box hole on the passenger side and sorting out the rusty dumbirons. Only managed one of the dumbirons, but after a lot of head scratching today, at least I have a plan for sorting the second one.
Simple patch for the footwell.
Starting with the right hand dumbiron
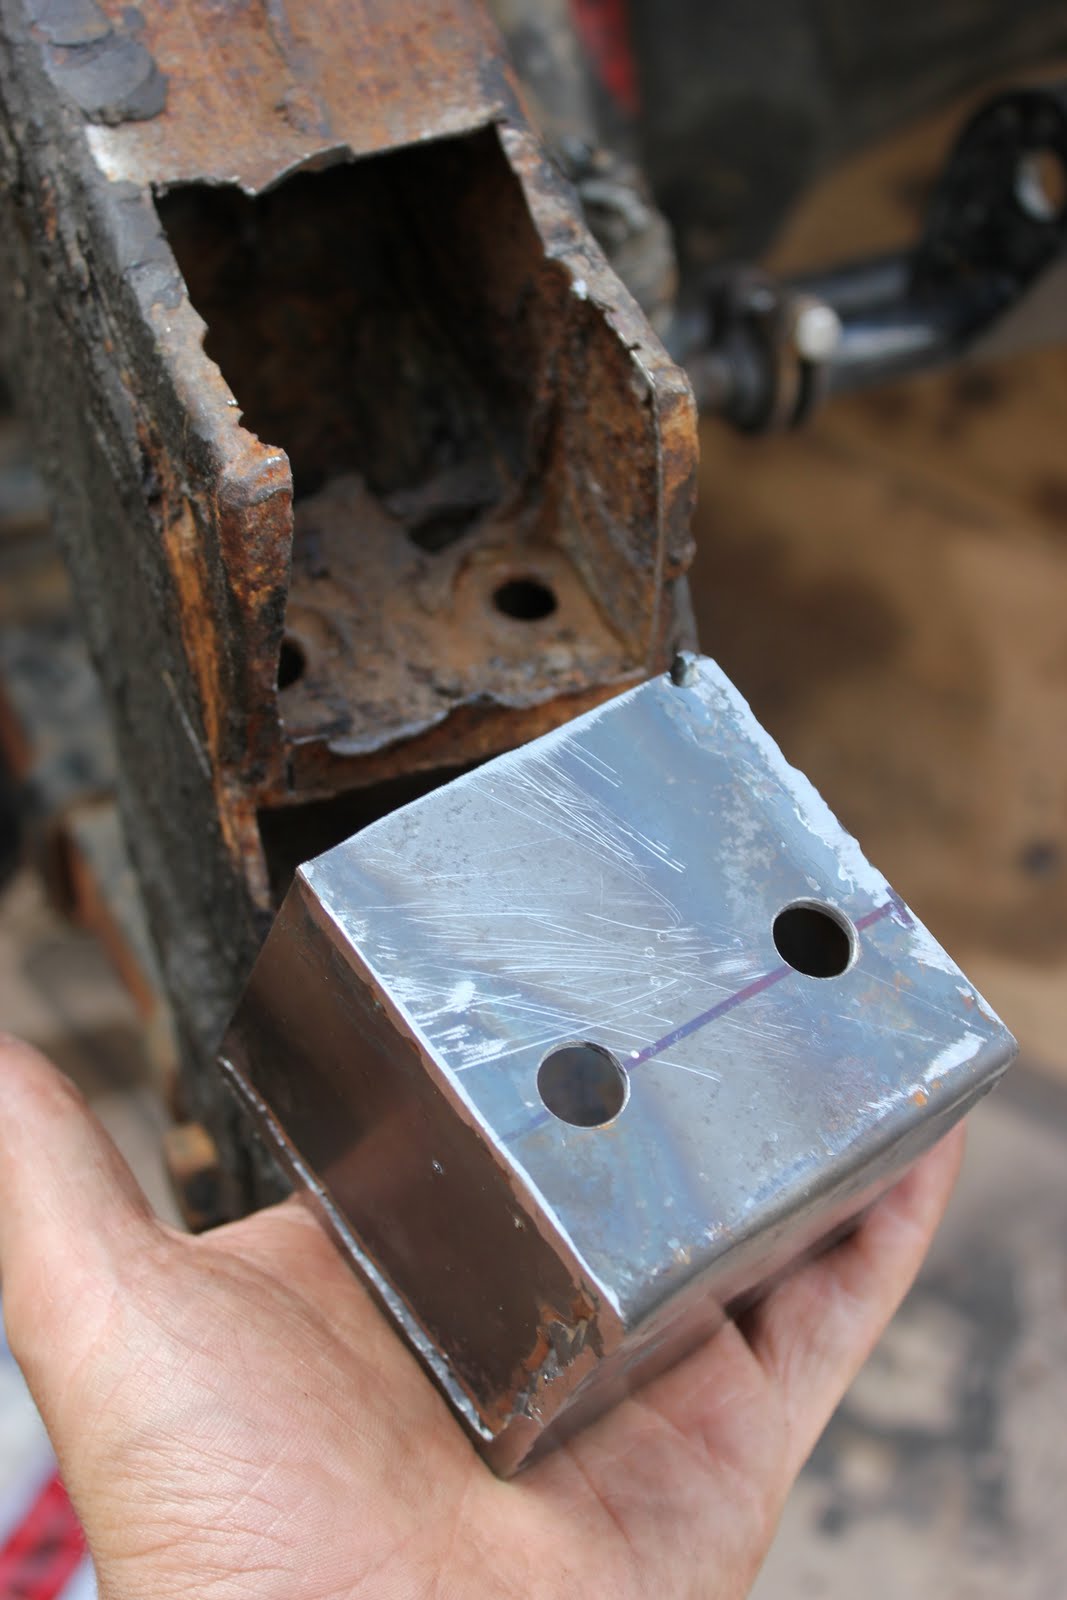
Since my dumbirons are different to most - being the military version - it's not so easy to replace them with new ones that simply weld on. The Duke's dumbirons seem to have thick steel plates on each side which are still relatively strong, so just the bumper mounting bit in the middle needs to be swapped. I did this by making a 75x75x75mm cube with one side missing, then drilling holes and welding in place.
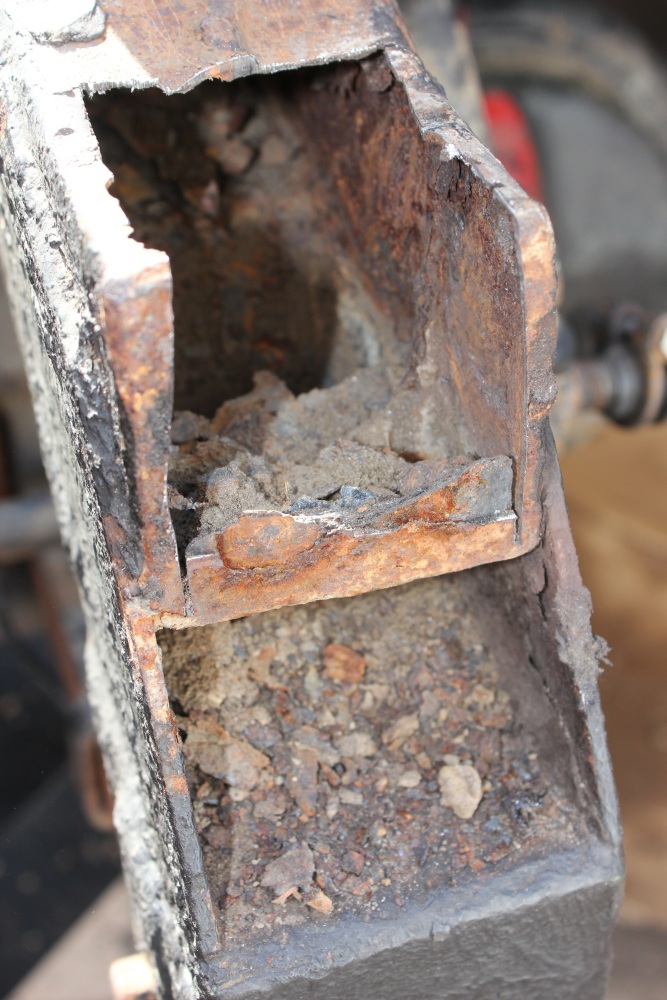
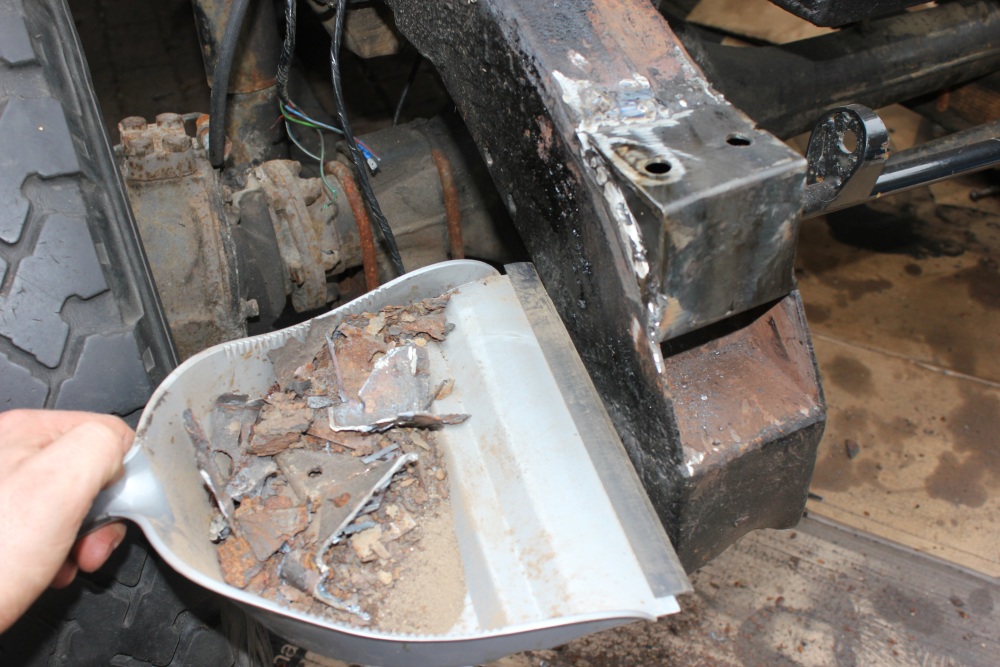
Full of sand and rust. Maybe somebody left The Duke nose down on a beach for a couple of years?
New bit made up from 2mm steel plate
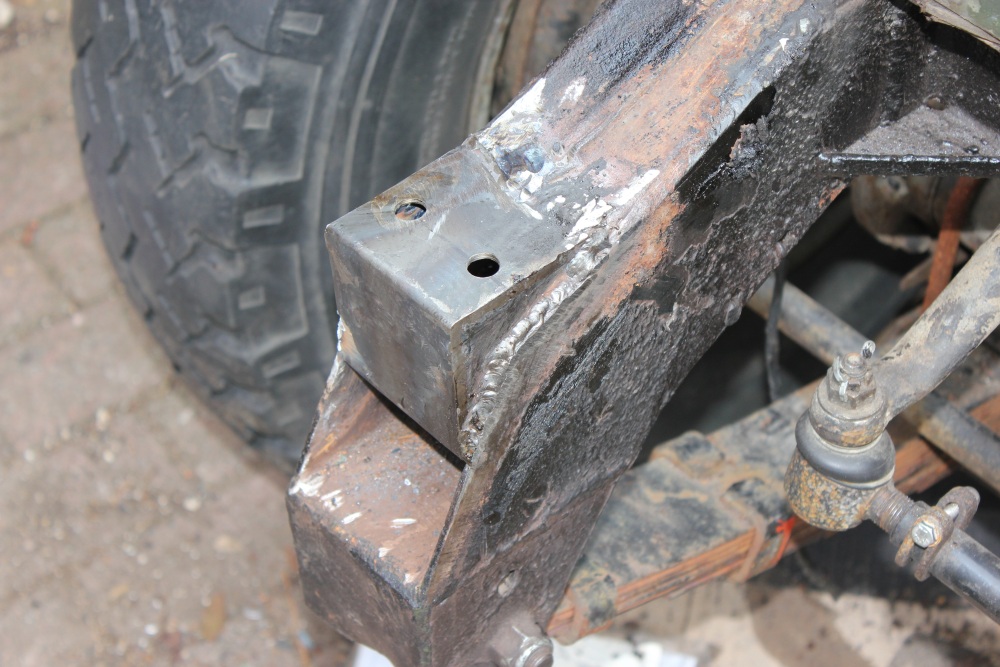
Welded in place. Bumper fits on perfectly... but one of the holes needs widening as it's slightly too far to the right.
Hume amount of sand and rust!
Hopefully the weather will be nice enough to do the other one at the weekend...