Bouncing Back
The people who share my office were again confused as I opened a parcel as if it contained the Lost Treasure of Atlantis today, only to find me staring in awe at four 70mm M8 bolts with Allen heads. Bought from an eBay shop called “Bolt Me Up”, they were the vital missing component for the reattachment of the suspension.
Lorna was nice enough to cook dinner tonight, so I could spend the entire evening covered in grease and wielding a spanner and socket wrench. As a result of my hard graft The Duke is back on four wheels!
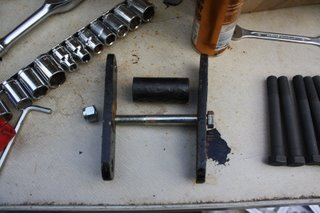
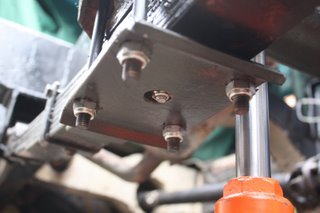
Other forum members kindly helped out with the nut and bolt pictured above too. Military spring hangers have an extra central brace which I couldn’t find anywhere on the parts list. It turns out it’s a 4 1.2" x 1/2" bolt and matching nyloc nut. I’ve shown it here in case anyone needs this info in the future - not least me!
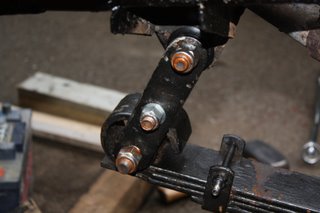
- Attach the back of the spring to the spring hangers to keep it from wobbling about.
- Present the front of the spring to the slot in which it sits, line up as best you can and get a bottle jack under it.
- Slowly and carefully jack up the spring. The whole back end may lift up, it's a very tight fit!
- If you manage to get close to lining up the holes, grease up the bolt and smack it through with a lump hammer and go to step 6.
- Otherwise, if you fail to line up the holes and end up with the spring too far forward or back, don't bother trying to move it, just remove the jack, unbolt the back of the spring, wiggle it free and go to step 1.
- Jump up and down in celebration and perhaps reward yourself with a beer.
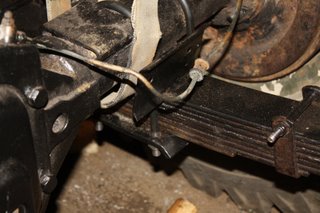
 The U bolts were relatively simple to get on - once the spring is attached at both ends. Some gentle taps with the Lump Hammer to get them over the axle, then just a case of bolting them up.
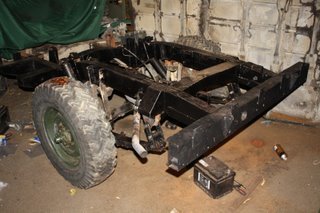
I had a great time jumping up and down on there too - the greased springs really make a difference, even to a man jumping. I think they’ll make for a much smoother ride, but I’m not doing the front ones ’til I have an MOT!
